
TechDoc's SAML authenticator has provided our users with a quick, easy, and unified Single Sign-On experience for years using the SAML (Security Assertion Markup Language) standard. As times have evolved, so has authentication. Over the last few years, the OpenID (OIDC) protocol has moved into the spotlight as the modern replacement for SAML. OIDC 1.0 is built upon OAuth 2.0 the current and mature version of the original OAuth 1.0 (Open Authorization) standard. TechDoc 12 now features a new OIDC authenticator that supports many of the current OIDC identity providers (IDPs) available including Google Sign-In. Unlike most, Google Sign-In only allows for shared secret-based authentication. In the steps below, we'll cover what's needed to configure both sides (TechDoc and Google Sign-In).
Note: This tutorial has been written specifically for console.cloud.google.com (as of 8/25/26) and the steps required and screenshots below are subject to change. Before beginning this tutorial, make sure you have a working, registered, and approved Google account. After the initial approval, you will need to make sure you have completed any required setup steps as required by Google. These steps are subject to change and outside of the scope of this tutorial.
Google Sign-In Configuration
In order to provide Google Sign-In on an external site or application like TechDoc, you must first create and configure a project on the Google Cloud platform. Once the project has been created, a client can be created and configured for your TechDoc instance. After this, the client will be ready for use by TechDoc.
Create a Project on Google Cloud
- Open a web browser and log into your account on Google Cloud.
https://console.cloud.google.com/
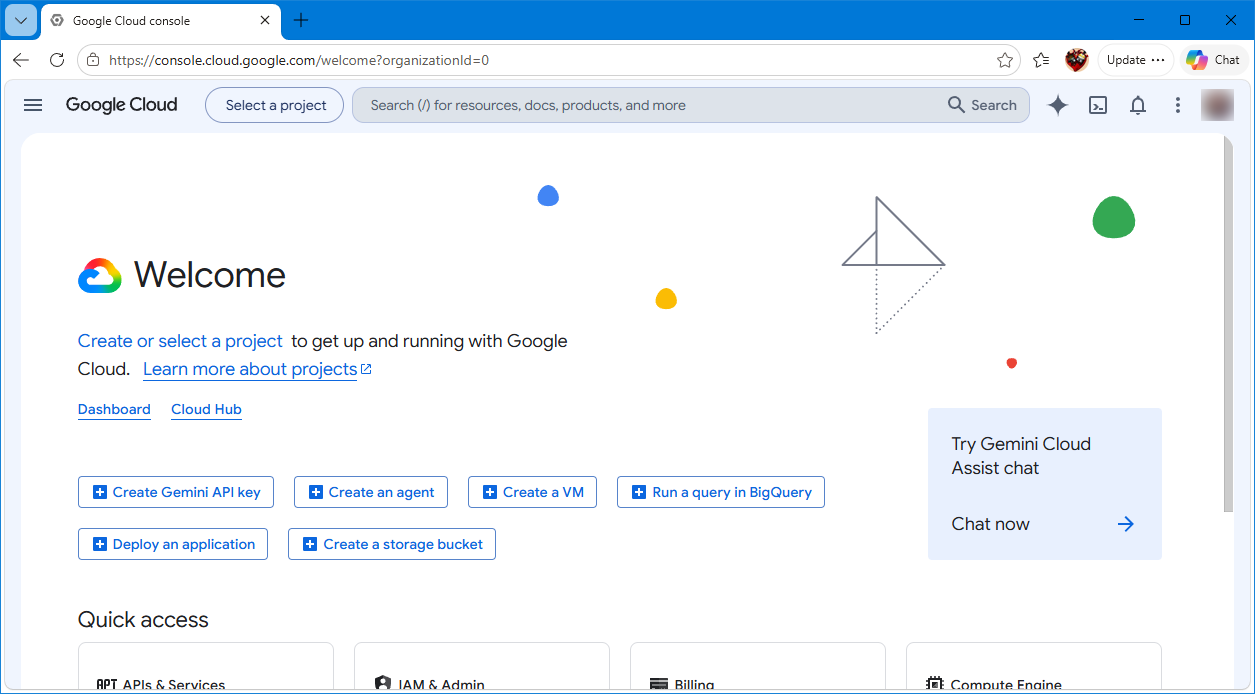
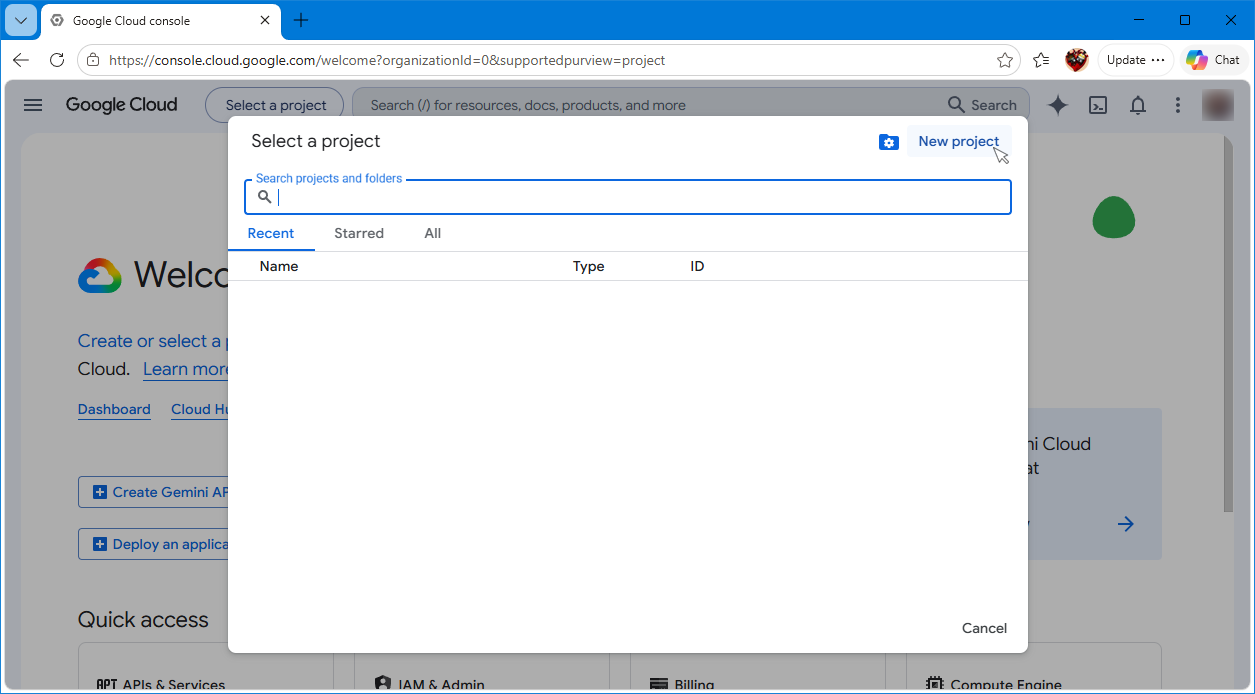
- On the top menu, click the Select a project link, and then click New project. If you already have a project you wish to use, you can skip the next few steps and go straight to creating and configuring a client.
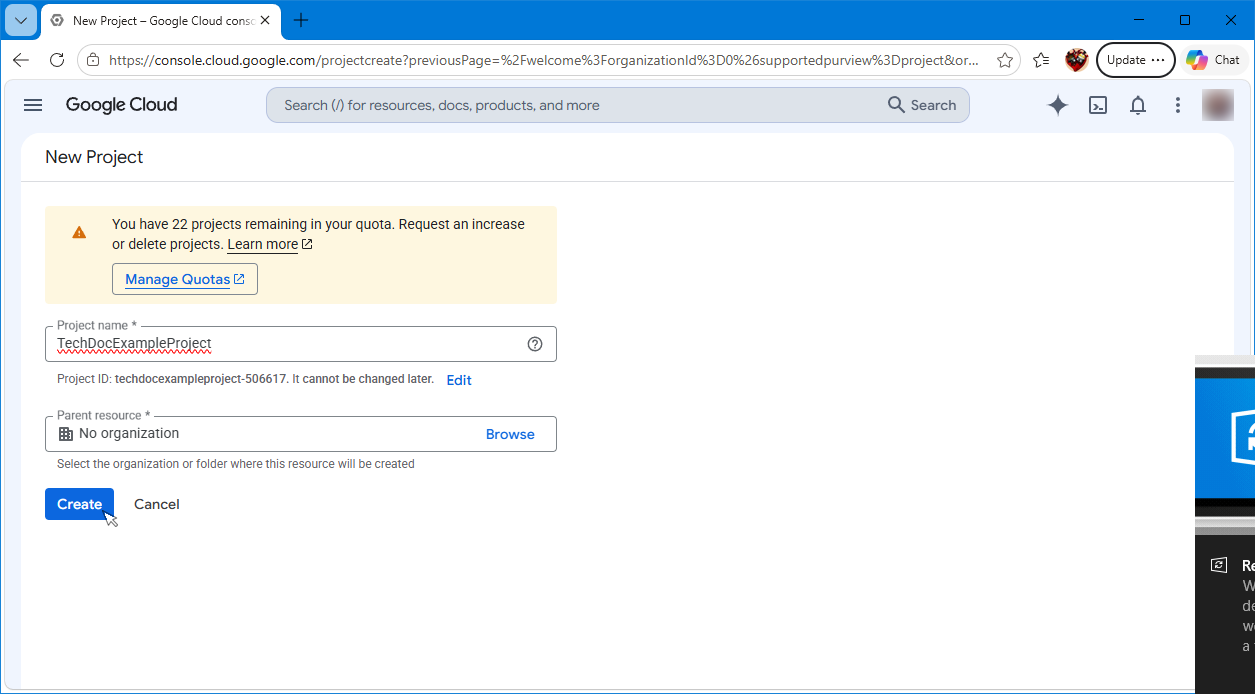
- On the New Project page, enter a name for your project; we called ours TechDocExampleProject. Click the Create button to continue.
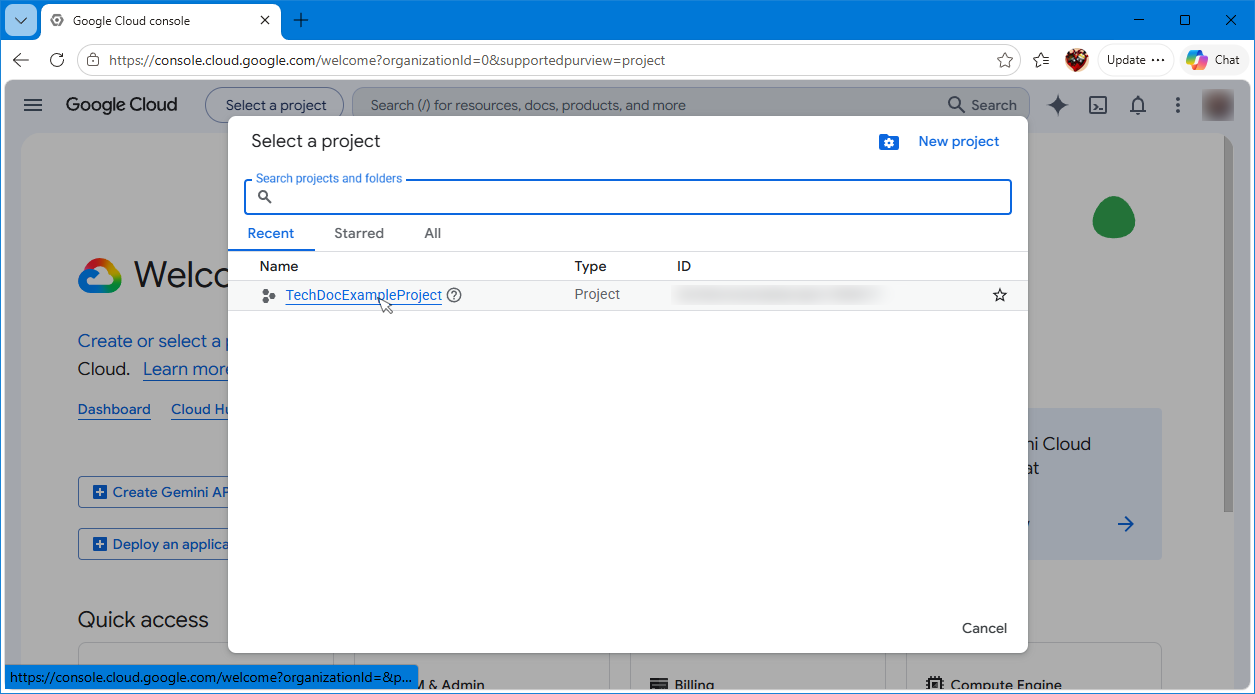
- The new project will begin creating, and you will be redirected to the main console.cloud.google.com home page. Once the project create completes, click the Select a project link on the top menu, and then locate and click your new project to select it.
- In the upper left-hand corner, click the hamburger and open the left side menu. On the left side menu, click the View all products link.
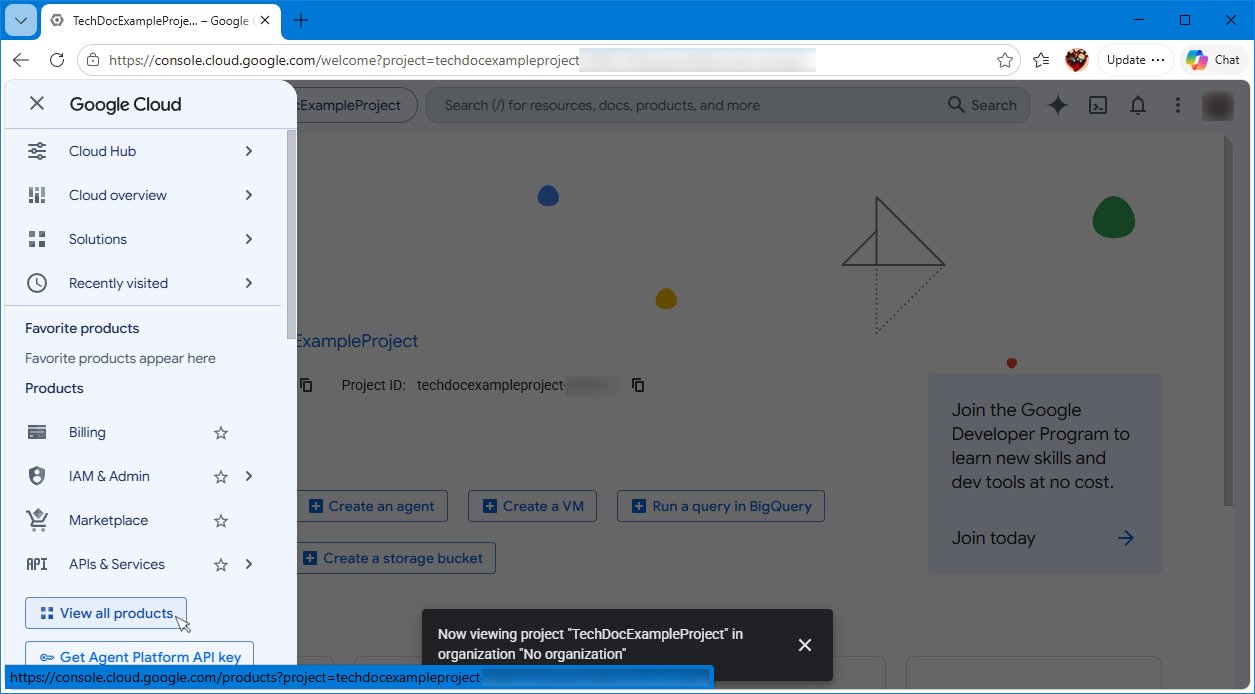
- On the All products page, locate and click the Google Auth Platform link (under the Management section).
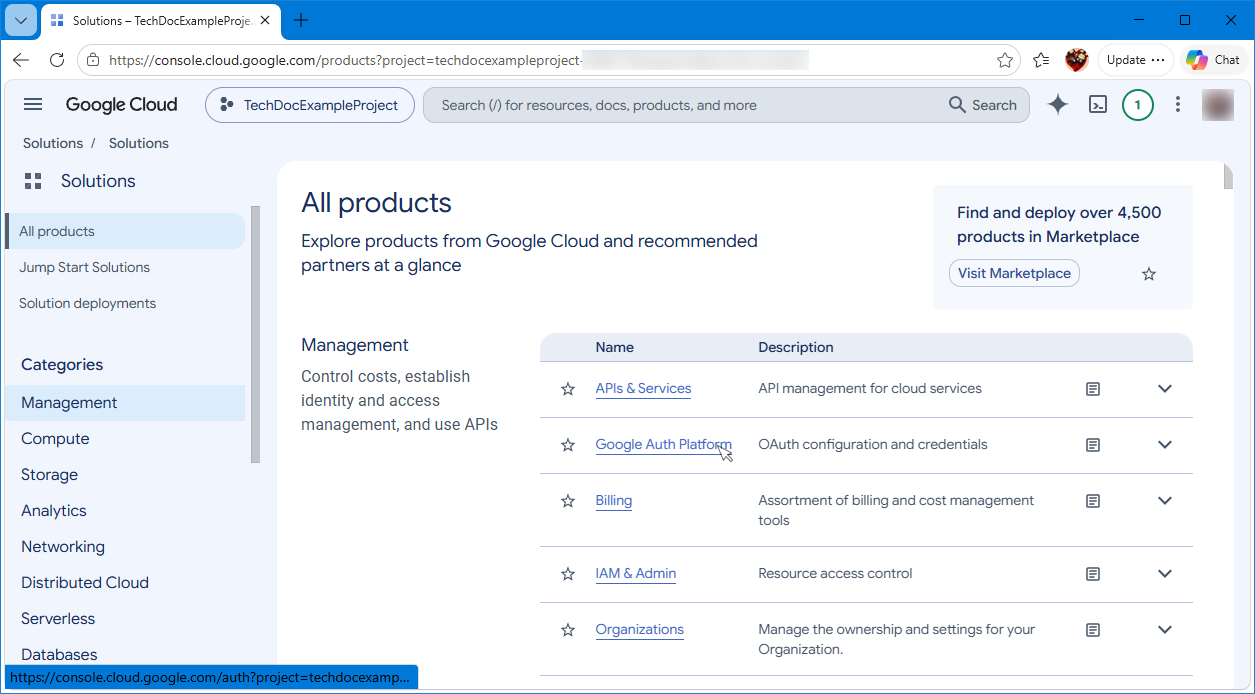
- On the Google Auth Platform page, click the Clients link on the side menu.
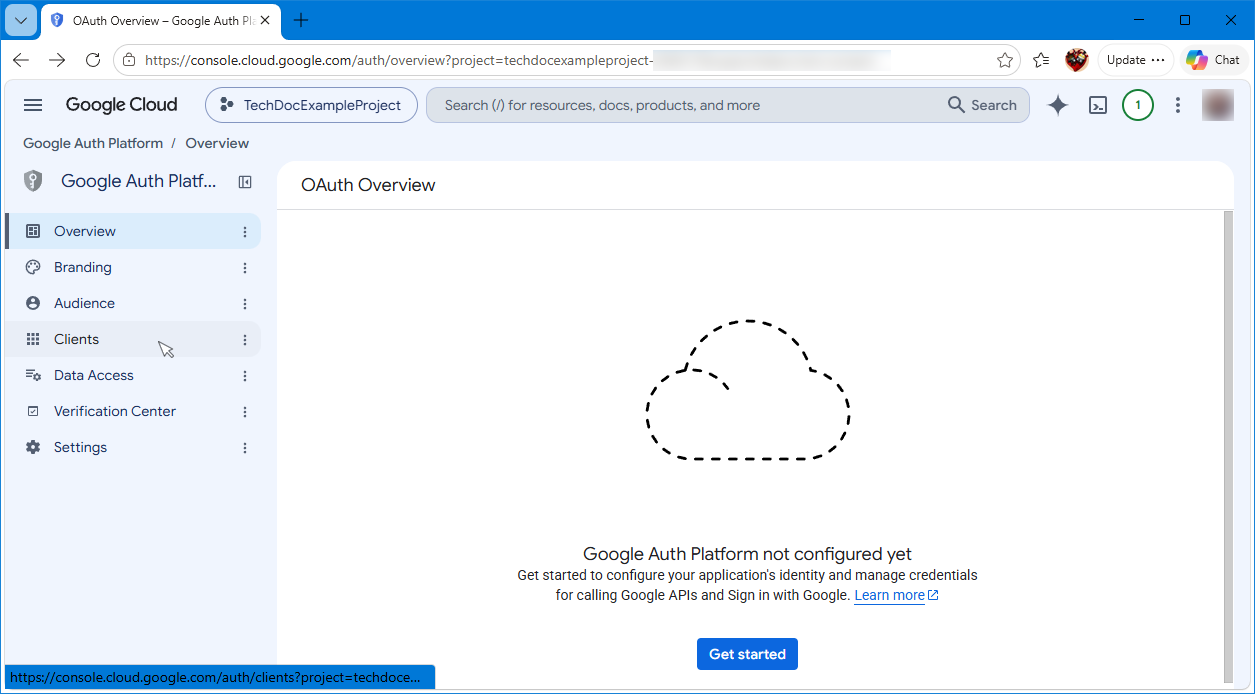
- On the Clients screen, you will need to first configure the Google Auth Platform if this is a new project. If an existing project is being used and this has already been configured, the next few steps can be skipped. Click the Get started button to begin the configuration of the Google Auth Platform.
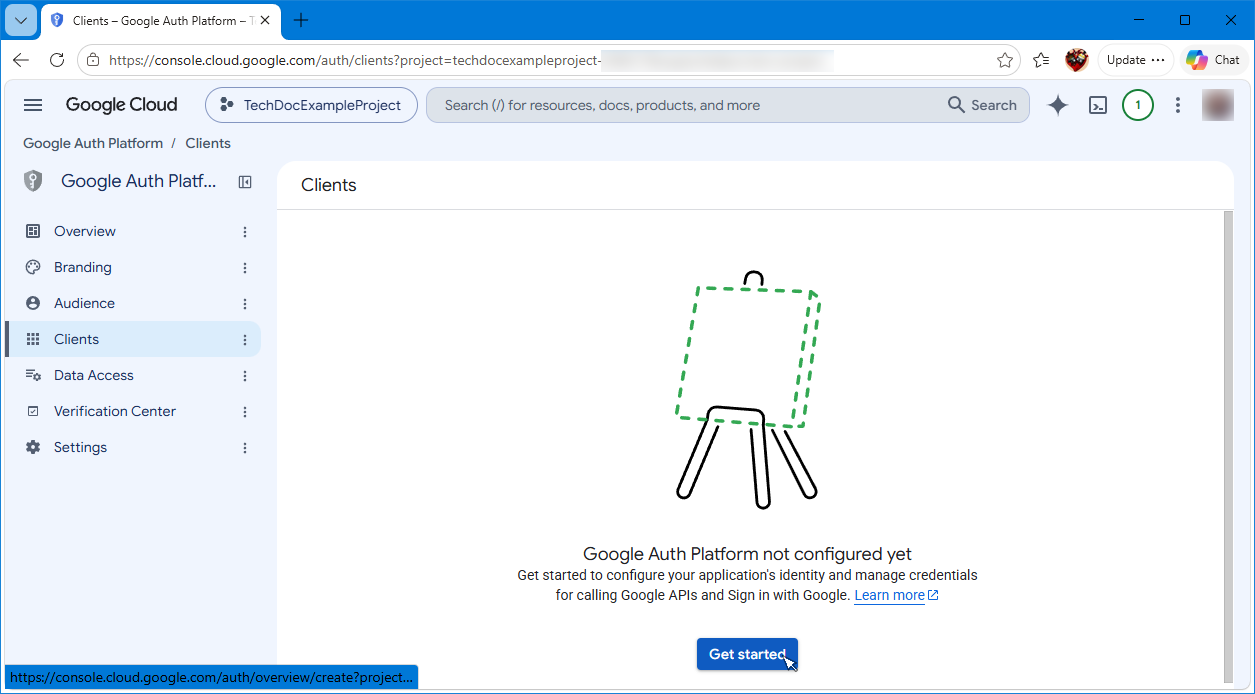
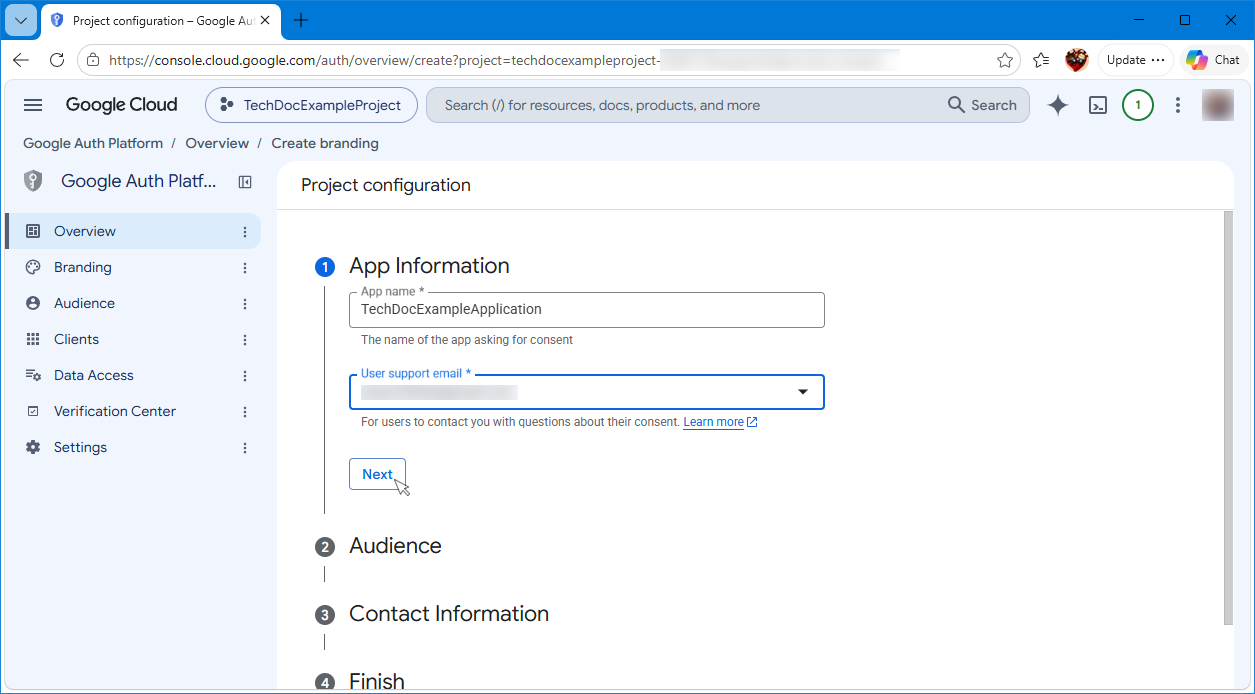
- On the Project configuration screen, enter a name for the application; we entered TechDocExampleApplication. Choose one of your Google account email addresses for the User support email, and then click the Next button.
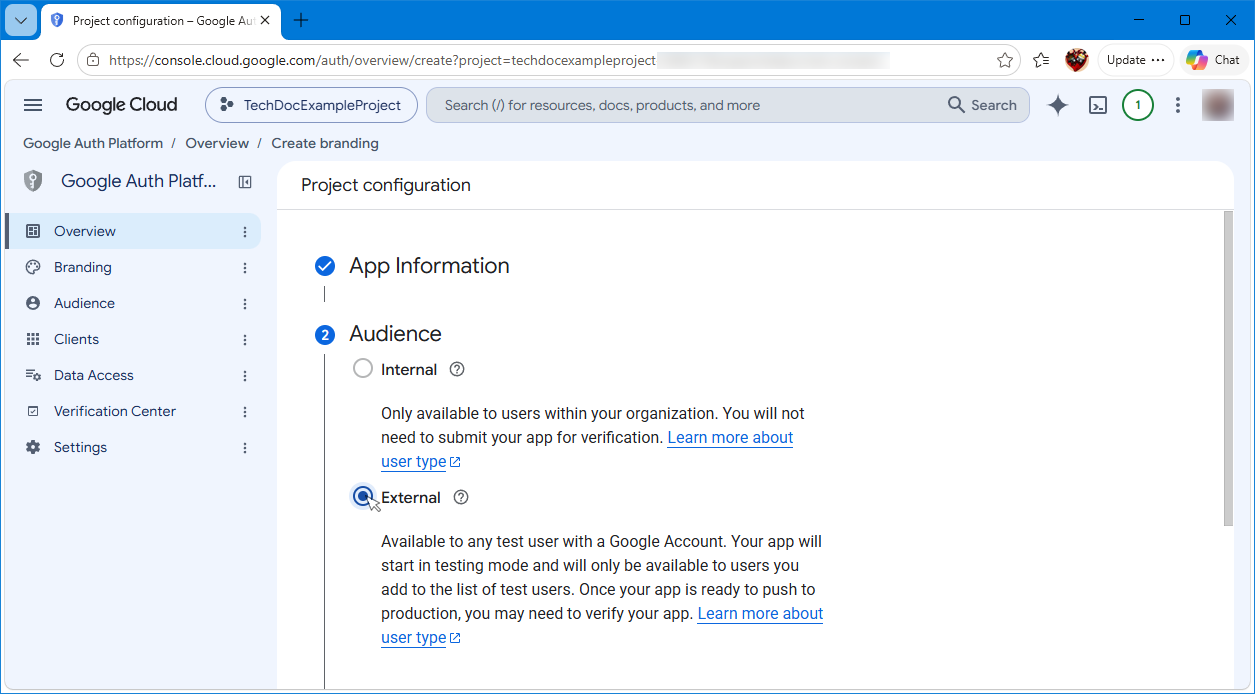
- Next, for the Audience, we chose External so that any user with a Google account could attempt to authenticate (users must also have a TechDoc account to be able to log into TechDoc). Click the Next button to continue.
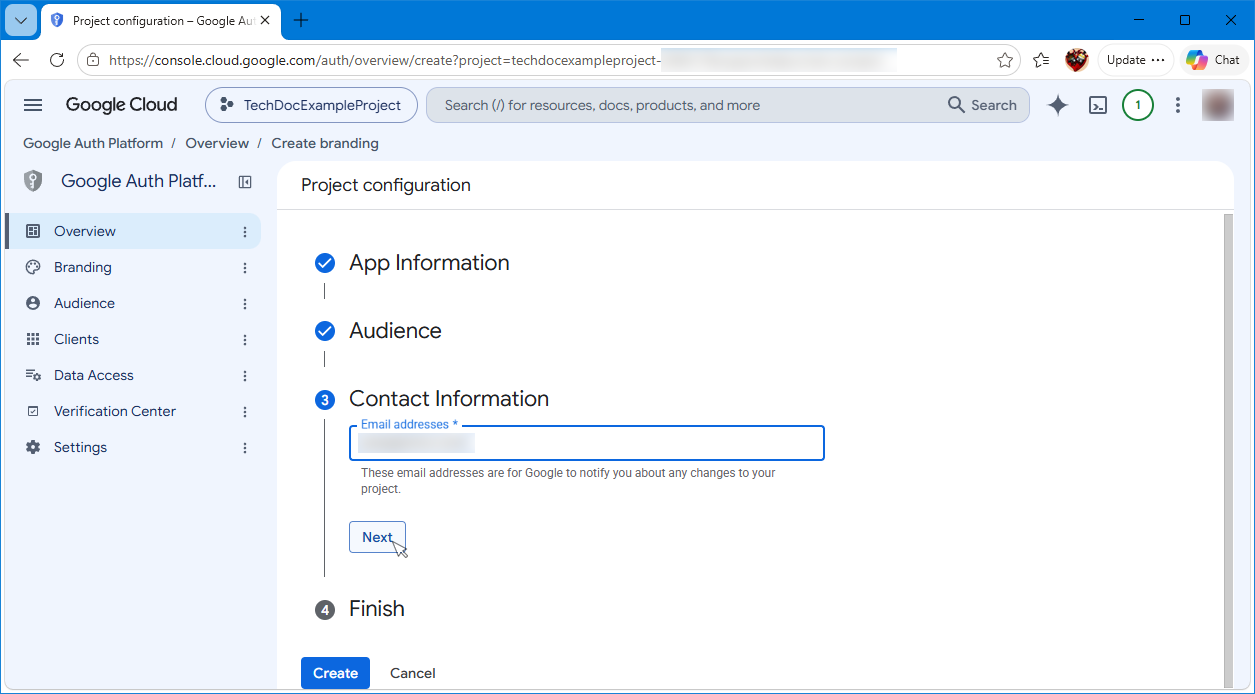
- On the Contact Information screen, enter an email address to receive project change notifications, and then click the Next button.
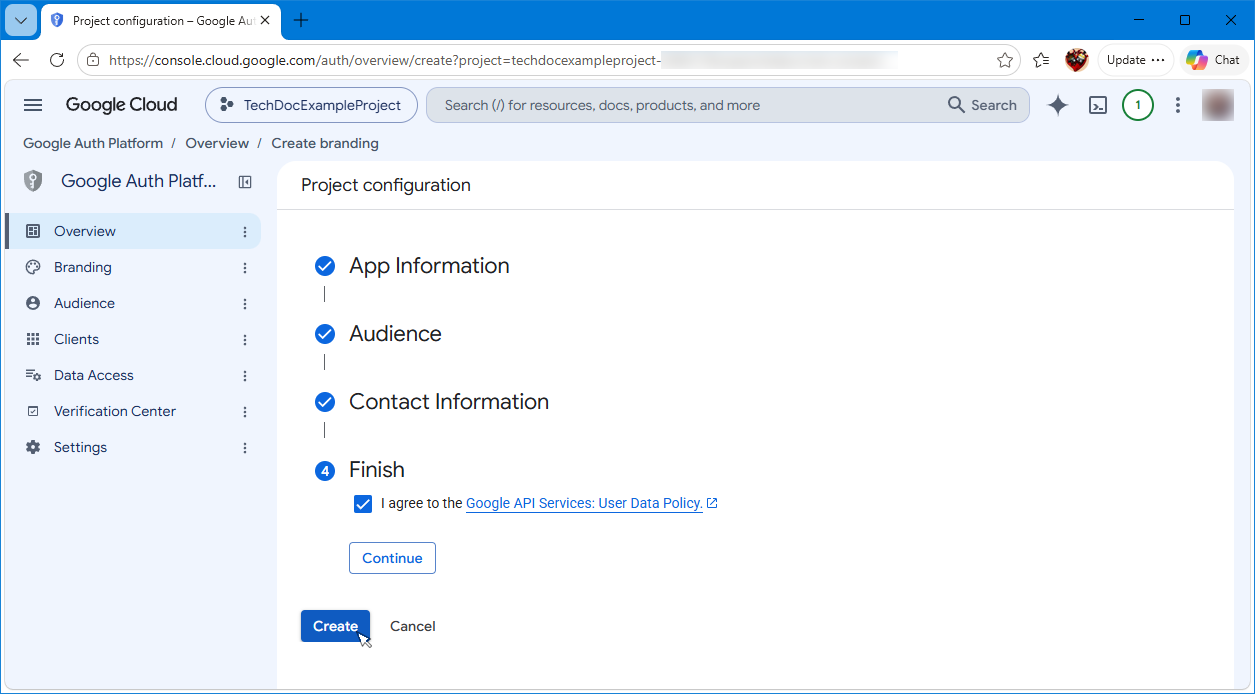
- On the last screen, read and agree to the user data policy, check the box, click Continue, and then click the Create button to finish creating the application.
- After the application is created, you will be directed to the application dashboard. On the left side menu, click the Clients link.
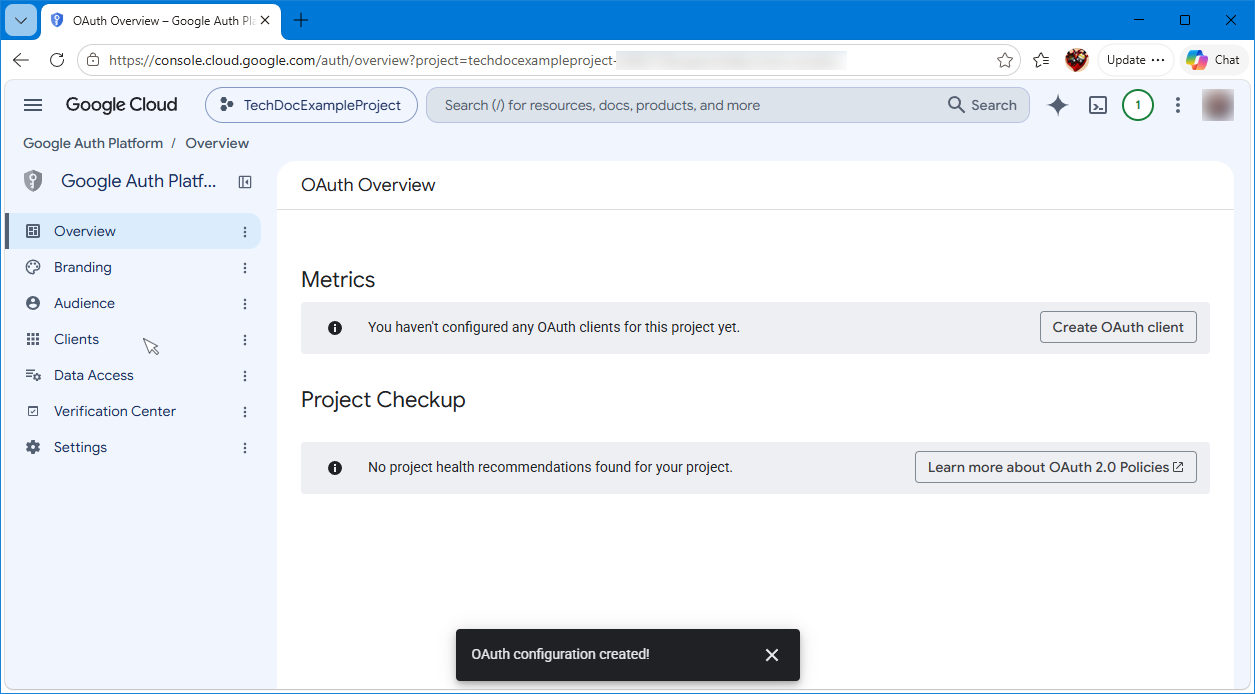
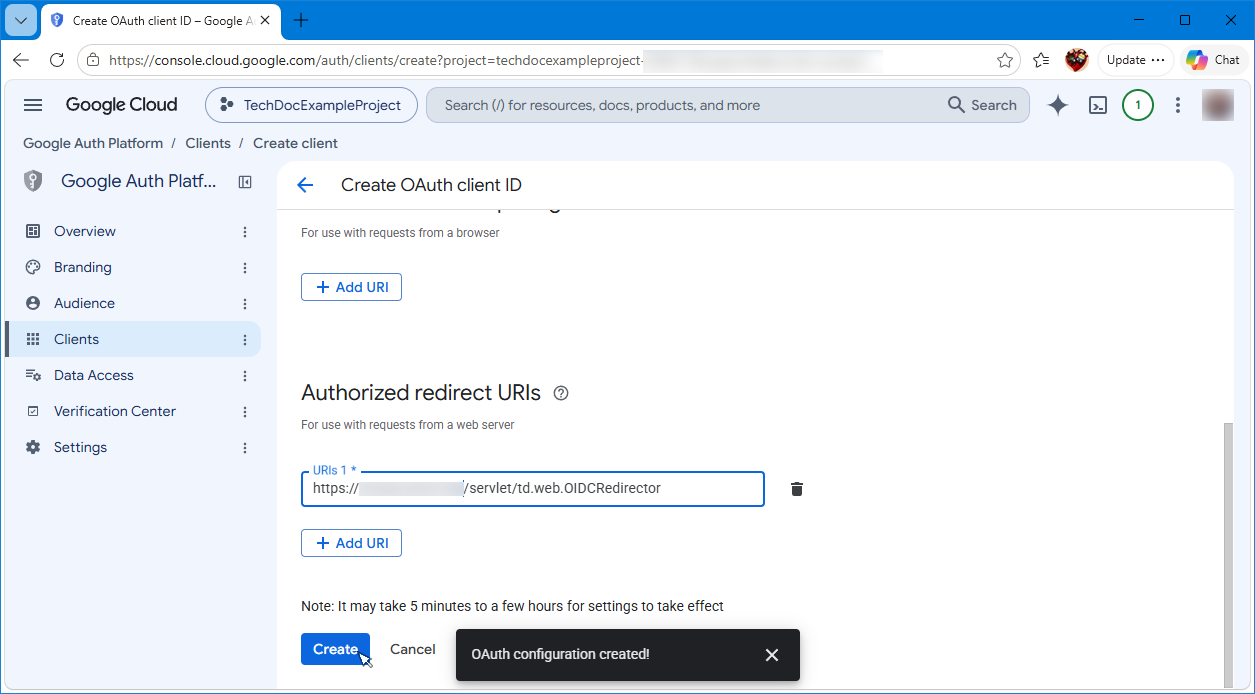
- On the Clients screen, click the Create client link on the top menu bar.
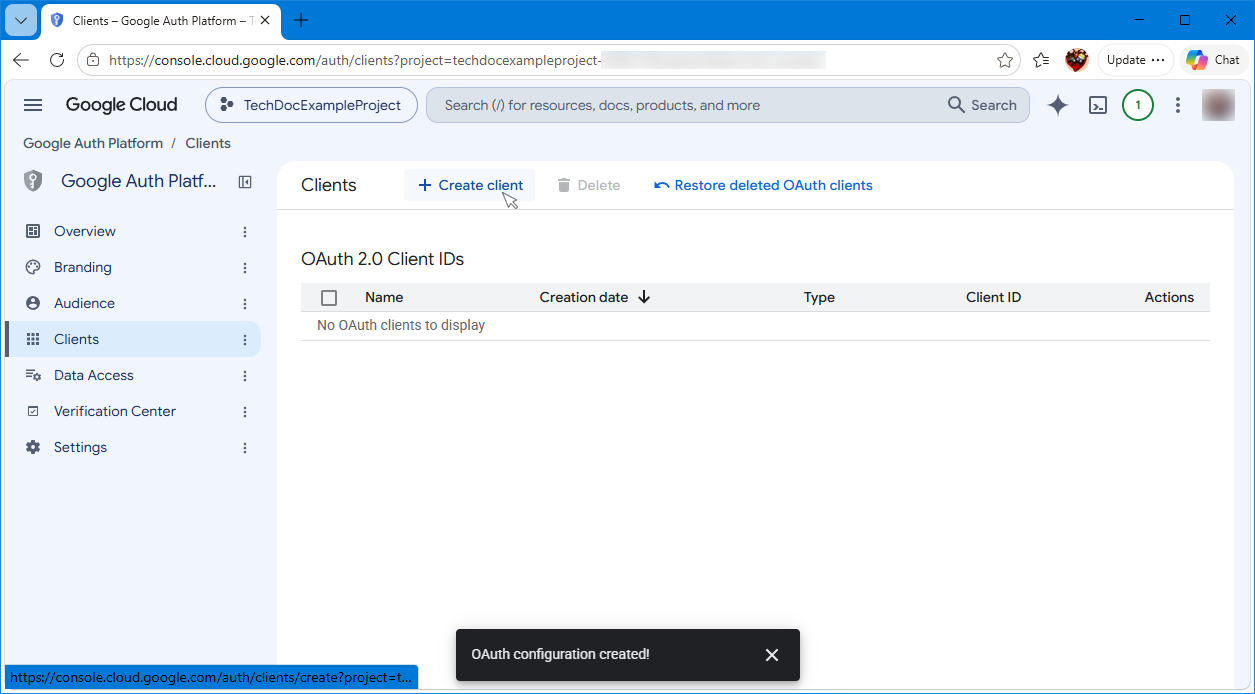
- On the Create OAuth client ID screen, select Web application under Application type and enter a name for the client for your TechDoc DM or SM instance; we chose TechDocExampleClient.
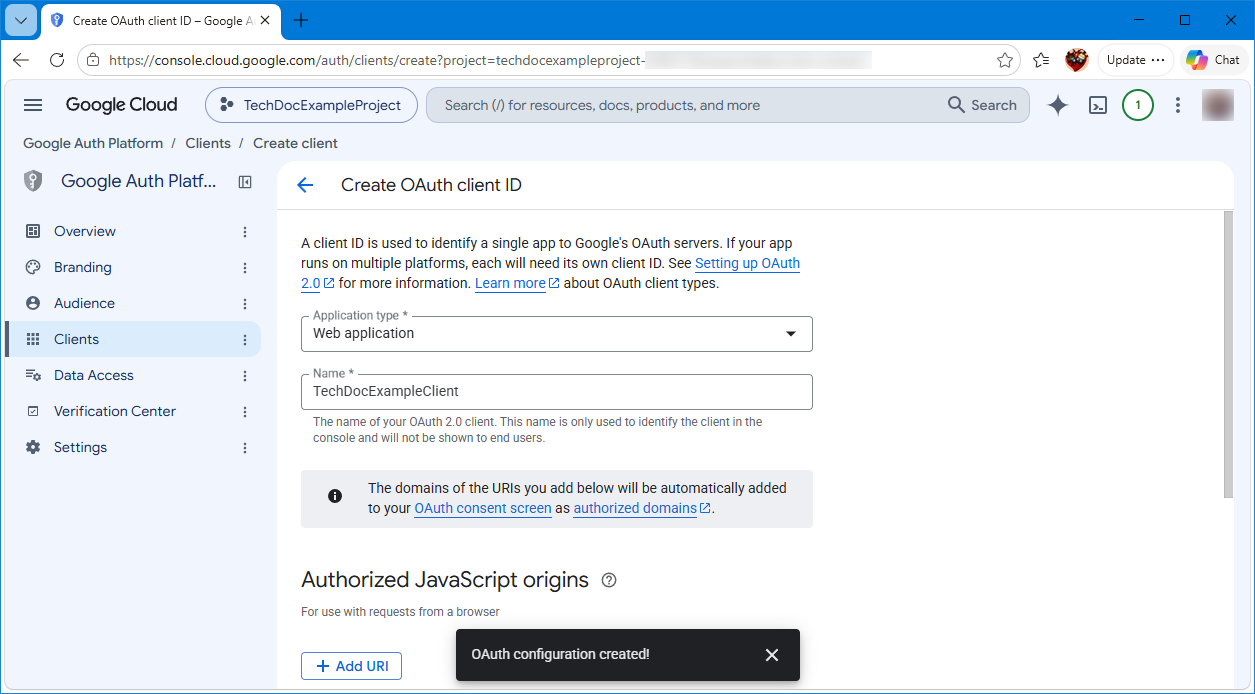
- On the same screen, scroll down the page and then click the Add URI button under the Authorized redirect URIs.
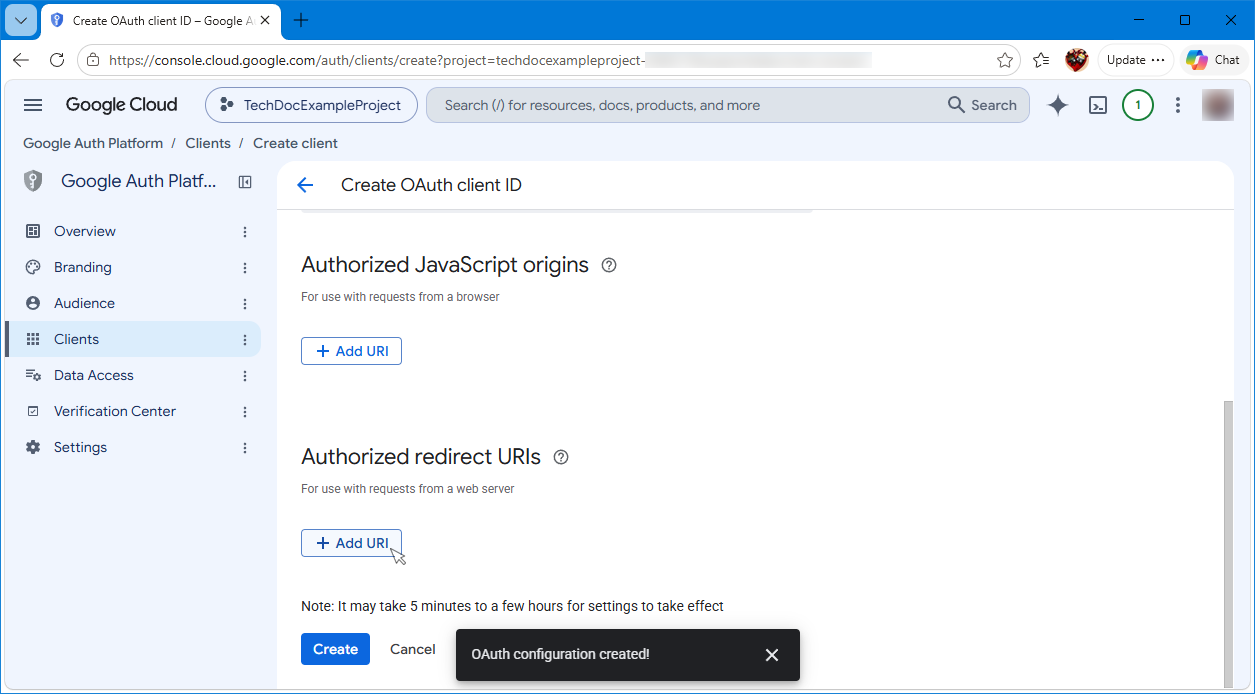
- Enter the redirect URL for your TechDoc DM or SM. It should take the form of:
https://YOUR_TECHDOC_INSTANCE_HERE/servlet/td.web.OIDCRedirector
replacing YOUR_TECHDOC_INSTANCE_HERE with the fully qualified host name of your TechDoc DM or SM. After you have done all of this, click the Create button to finish creating the client.
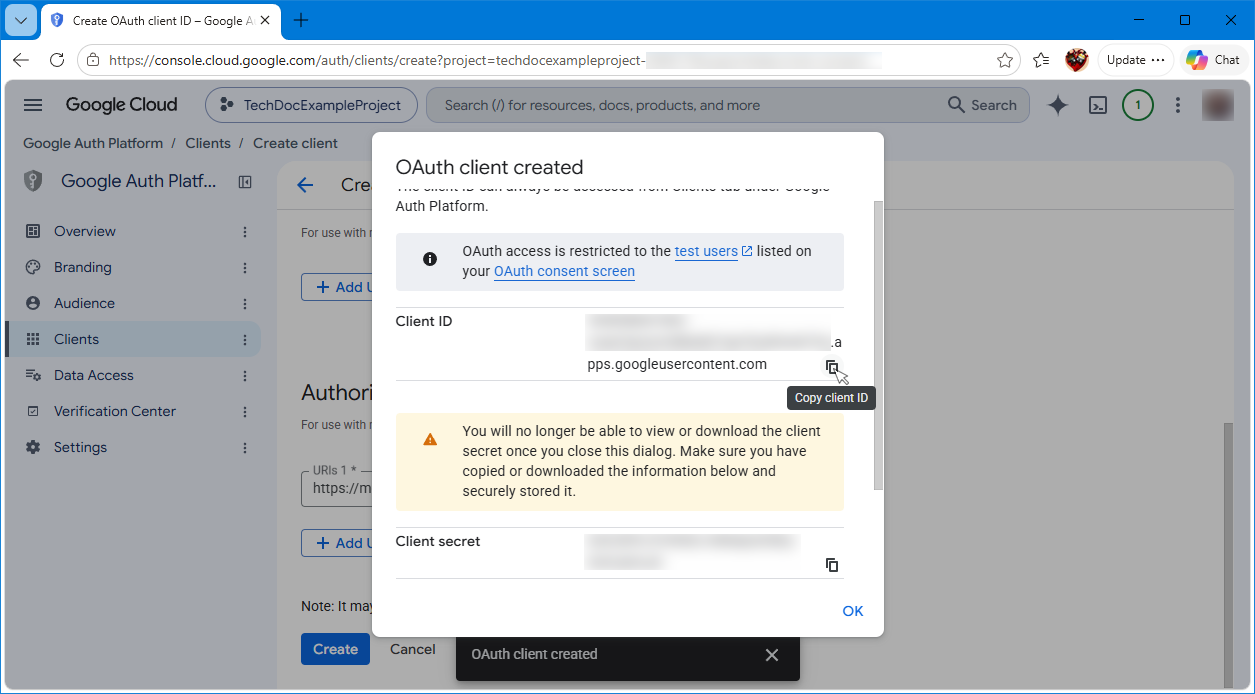
- Once the client is created, a screen will popup with the Client ID and the Client secret. Create a text file and note each of these in the text file. You can click the copy button as shown in the picture below to copy each onto the clipboard and paste them individually into the text file. Once you have done this, save the text file for later configuration of the TechDoc authenticator. After the information has been noted, you can click the OK button.
- This completes the Google Sign-In side of the configuration, but before we move on to the TechDoc configuration, we need to save a copy of the Google OIDC IDP metadata. Open a web browser and enter the following address into the address bar:
https://accounts.google.com/.well-known/openid-configuration
this should result in a screen that looks like this:
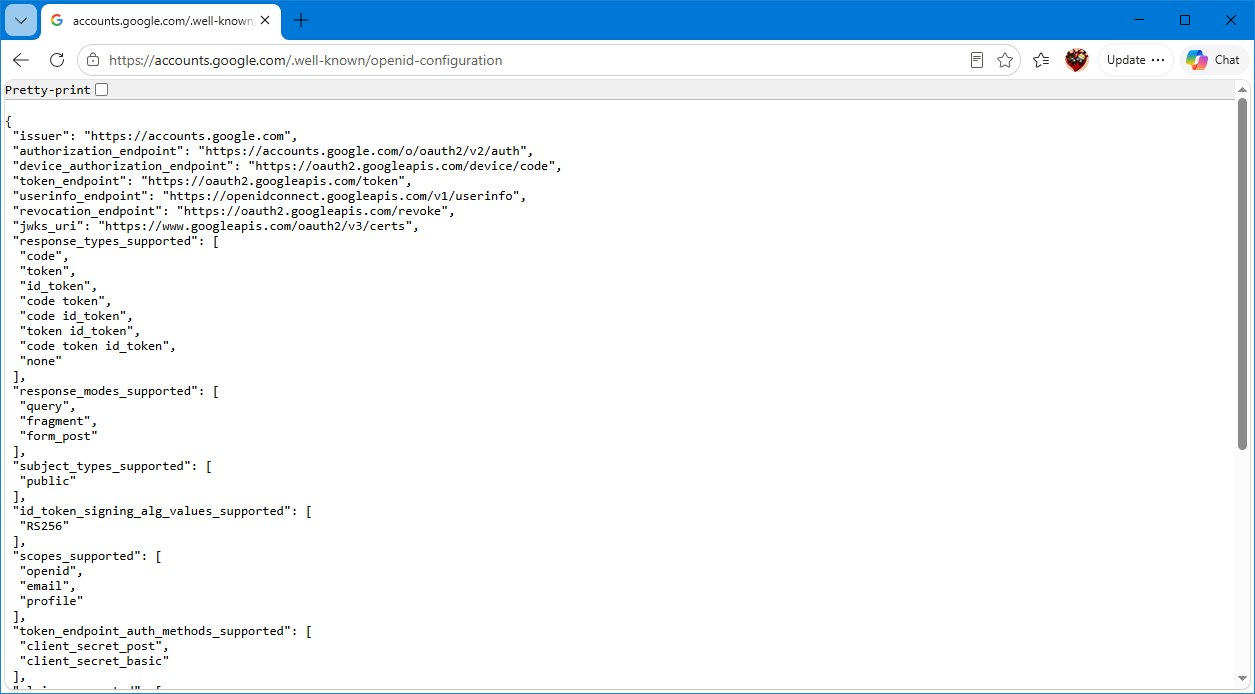
- Right click and select Save as... and save the metadata to a file in your TechDoc/etc folder; we named ours idp-metadata-google.json.
Setting up an OIDC Authenticator in TechDoc
- Open a web browser and navigate to your TechDoc DM or SM (we'll be using a DM for this example), log in as an Admin, and click on the Admin link on the top menu bar.
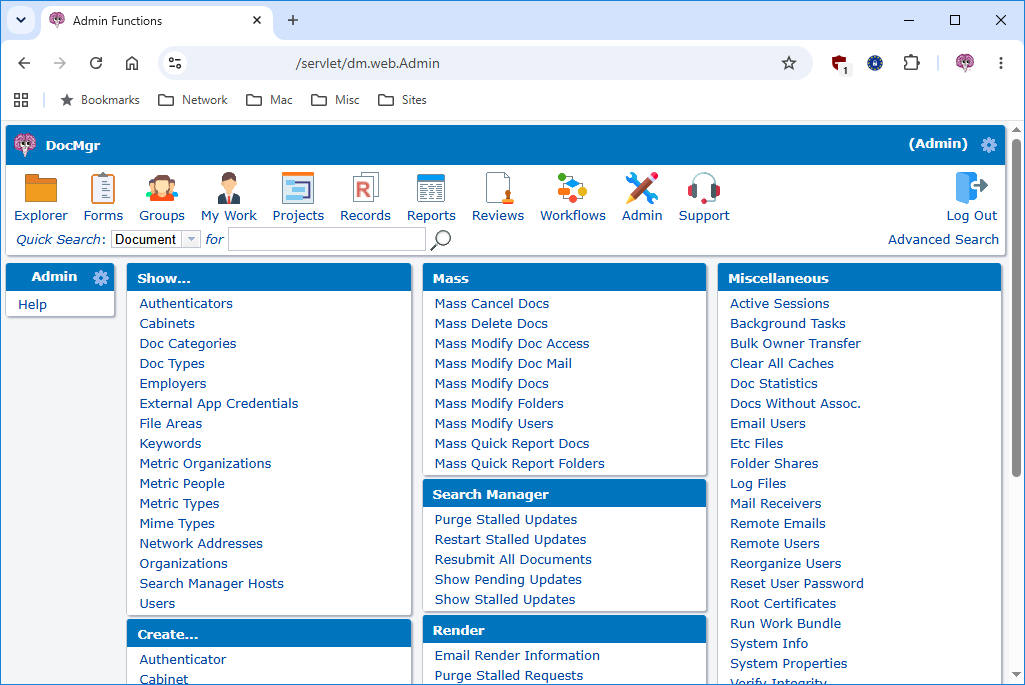
- On the Admin screen, click the Authenticator link under the Create... to start the creation of the TechDoc OIDC authenticator.
- On the Create Authenticator screen, enter a name for the authenticator and select OIDC from the drop down menu.
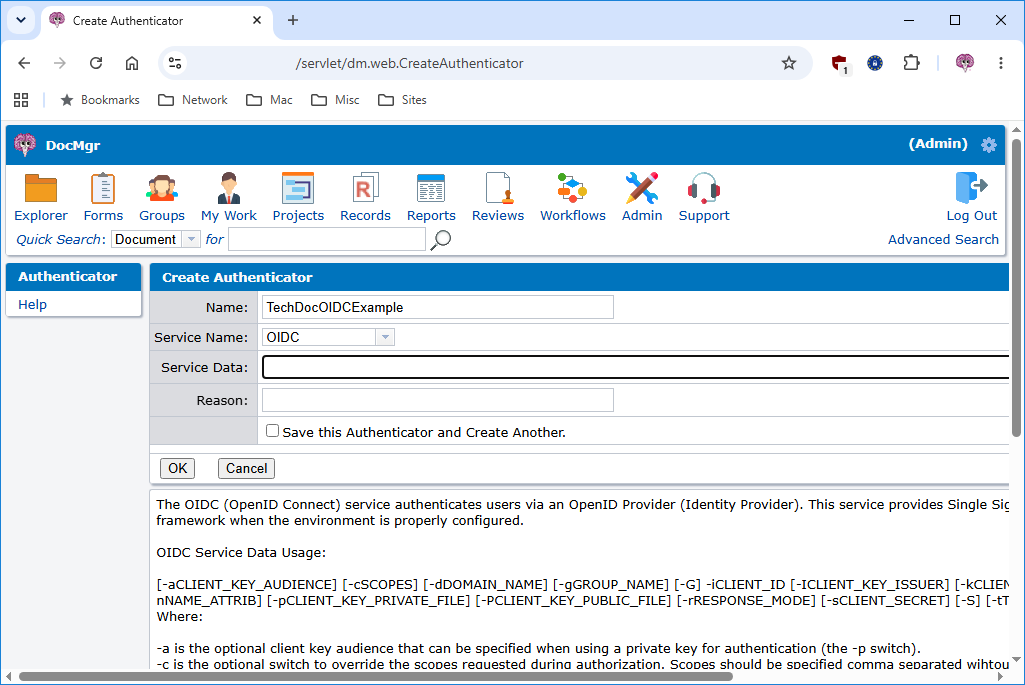
- For the service data, we'll need to specify the following:
-mMETADATA_FILENAME_HERE -iCLIENT_ID_HERE -sCLIENT_SECRET_HERE
where- -m - specifies the name of the Google metadata file you saved into your TechDoc/etc folder. Replace METADATA_FILENAME_HERE with the name of the metadata file.
- -i - specifies your client identifier; the client ID is noted in your text file from earlier. Replace CLIENT_ID_HERE with your Client ID.
- -s - specifies the shared secret; the client secret is noted in your text file from earlier. Replace CLIENT_SECRET_HERE with your Client Secret.
- Once you've entered the service data for your authenticator, click the OK button to complete the creation.
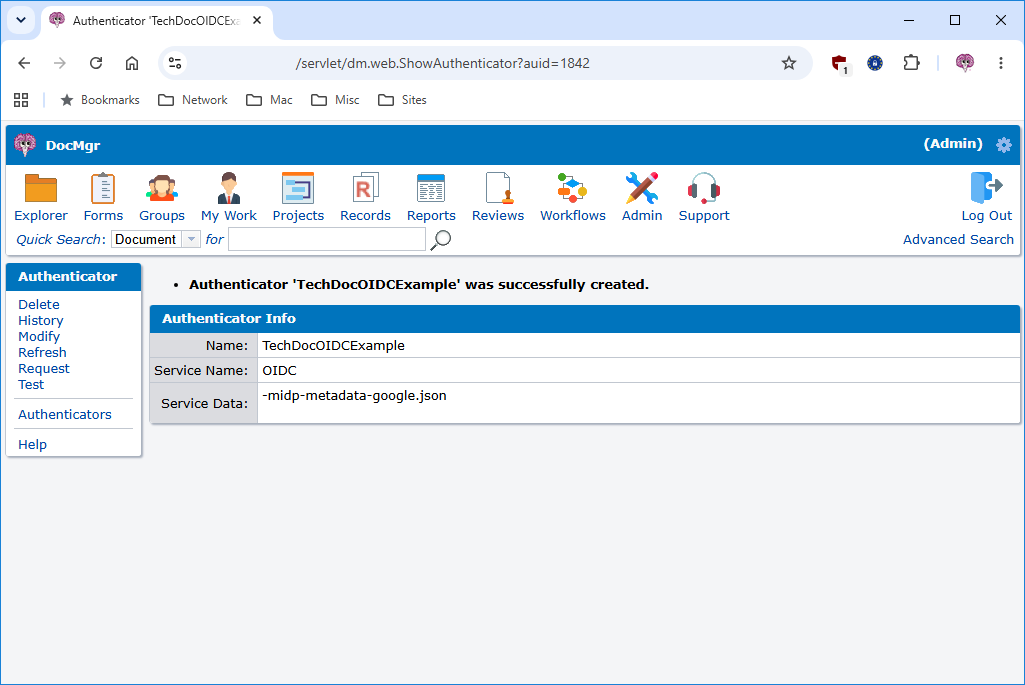
- You may now click the Test link on the side menu, and then click the Test using... button to test your authenticator.
- You should see a list of user attributes returned that resembles the screenshot below. Make sure you see the entry named email. This claim is the default one that will be used to map the Google user account email address to a TechDoc account. If a different claim is to be used, make sure that claim appears in the list. You may need to add the -n switch to your authenticator to specify the name of the specific claim you wish to use to identify users.
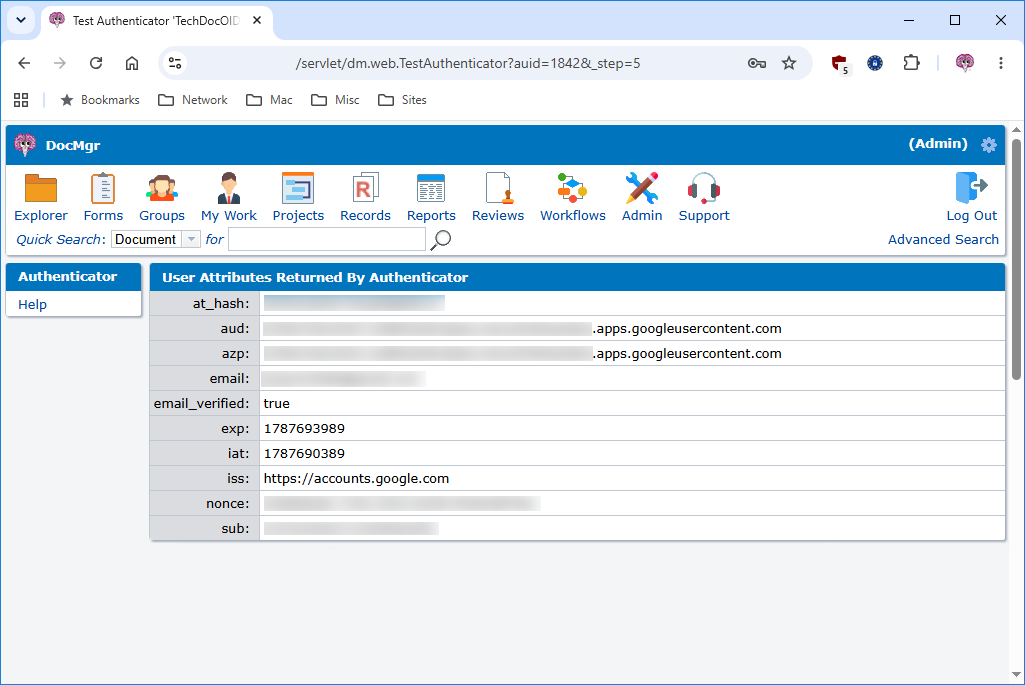
- If everything looks good, your configuration is complete! You are free to begin creating users using this authenticator by selecting it from the list on the create/modify user screen and entering their Google user account's email address (their email or whatever other unique identifier you've chosen to use) in the field next to the authenticator.
One final note: If your plan is to migrate an existing SAML Authenticator to use OIDC, you can perform the following steps to transition the existing SAML authenticator over to using OIDC and all users assigned to that authenticator will now be using OIDC to access TechDoc.
- Thoroughly try out the test OIDC authenticator that you set up above to make sure you're confident that it is working correctly.
- Record the current SAML authenticator's settings somewhere; particularly the Service Data string.
- Modify the current SAML authenticator, change its Service Name from SAML to OIDC, copy the Service Data string from the test OIDC authenticator that you set up to here, enter a reason, and click OK.
- Now test your newly converted authenticator to make sure it's working properly as an OIDC authenticator.
- If there are any problems, you can always modify the authenticator and change the Service Name back to SAML and change the Service Data string back to what you recorded in step 2.
- Once happy with the SAML to OIDC migration, you can delete the test OIDC authenticator if you no longer want it around.
Product Type: