
This tutorial is specifically for ADFS version 3 that ships with Windows Server 2012. If you need to configure an ADFS version 4 setup on Windows Server 2016, please see the Configuring ADFS 4.0 as an SSO Identity Provider for TechDoc tutorial.
Configuring a TechDoc DM as a Relying Party in ADFS 3.0
Let's start by configuring your TechDoc DM as a Relying Party in ADFS.
- Go to the server on which ADFS is installed and launch the AD FS Management application.
- Expand the Trust Relationships node and click on the Relying Party Trusts node.
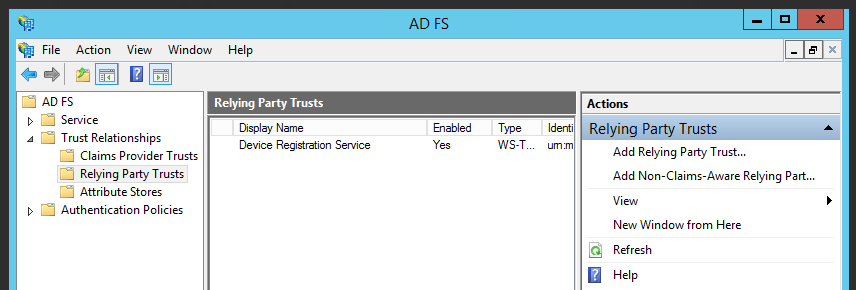
- Click on the Add Relying Party Trust link in the right pane to start the Add Relying Party Trust wizard.
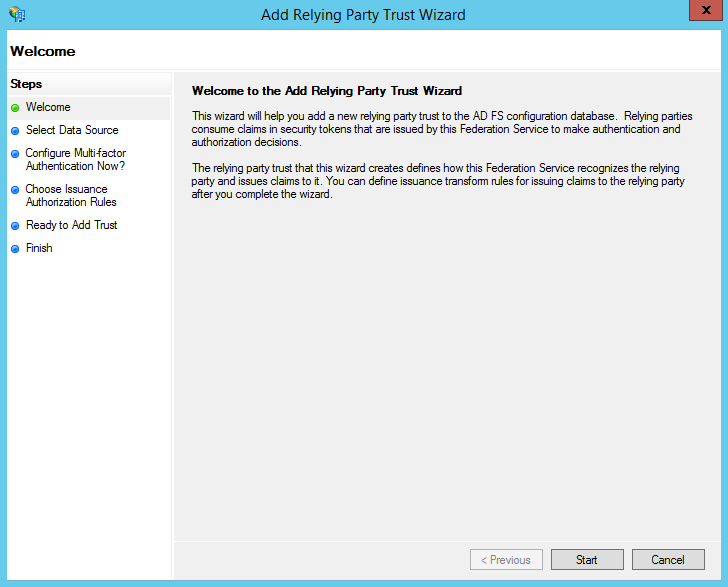
- Click the Start button to continue.
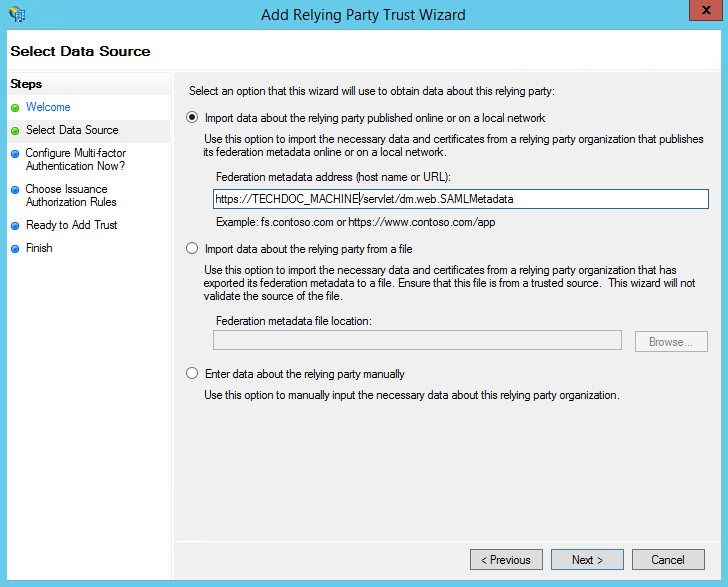
- Select the "Import data about the relying party published online or on a local network" radio button and enter the TechDoc DM metadata URL:
https://TECHDOC_MACHINE/servlet/dm.web.SAMLMetadata
Replacing TECHDOC_MACHINE with the full host name of your TechDoc DM. Click Next to continue.
- Choose and enter a Display Name for this Relying Party and any additional notes you may want. Click Next to continue.
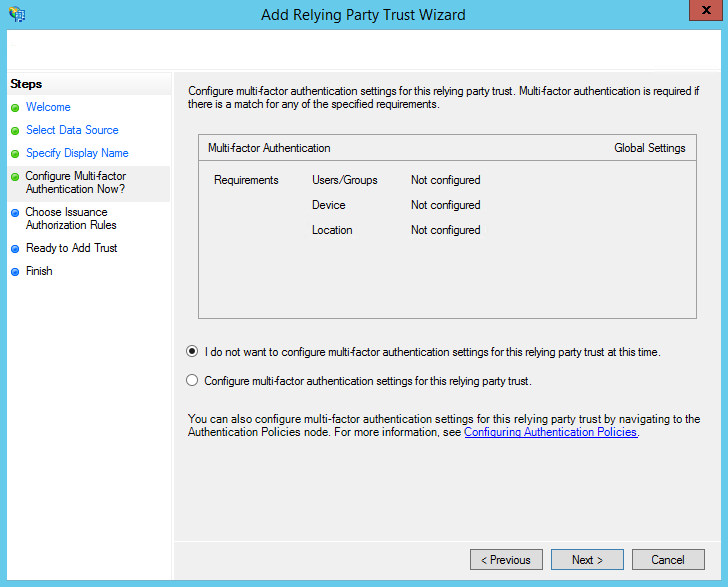
- Select the "I do not want to configure multi-factor authentication..." radio button to skip configuring multi-factor authentication. If multi-factor authentication is needed for your environment, please configure that as needed before continuing to the next step. Click Next to continue.
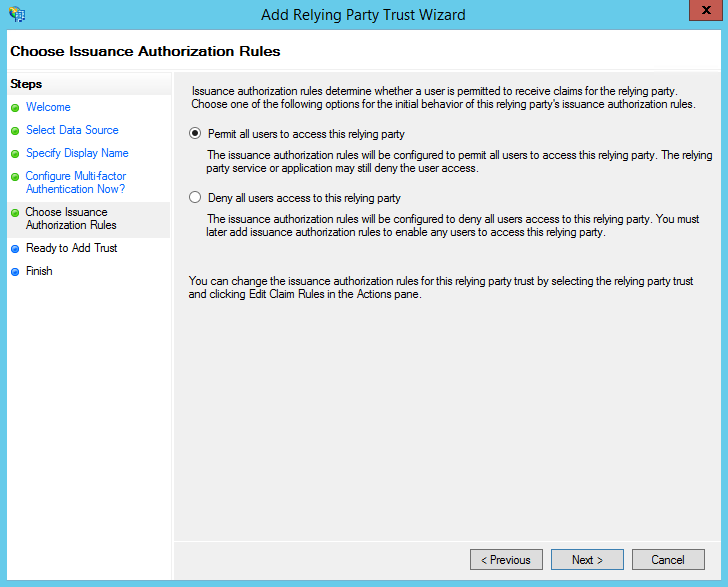
- Select the "Permit all users to access this relying party" radio button for this example. You may select the other and give access via issuance authorization if so needed in your environment. Click Next to continue.
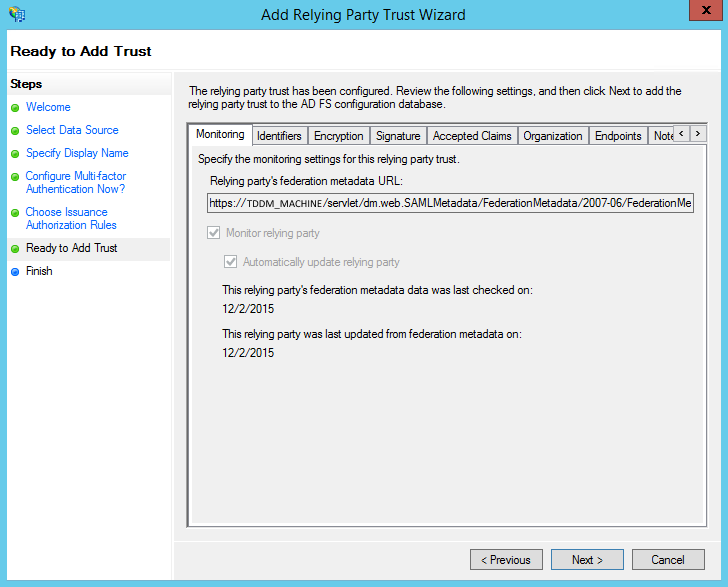
- On the "Ready to Add Trust" page, review all of the tabs and make sure the information looks correct. It's a good idea to visit the Encryption and Signing tabs, View each certicate, and make sure it is trusted. You may need to add the cert(s) to your Trusted Root Certification Authorities before ADFS will allow this Relying Party to be used. Once you are sure that everything looks good, click Next to continue.
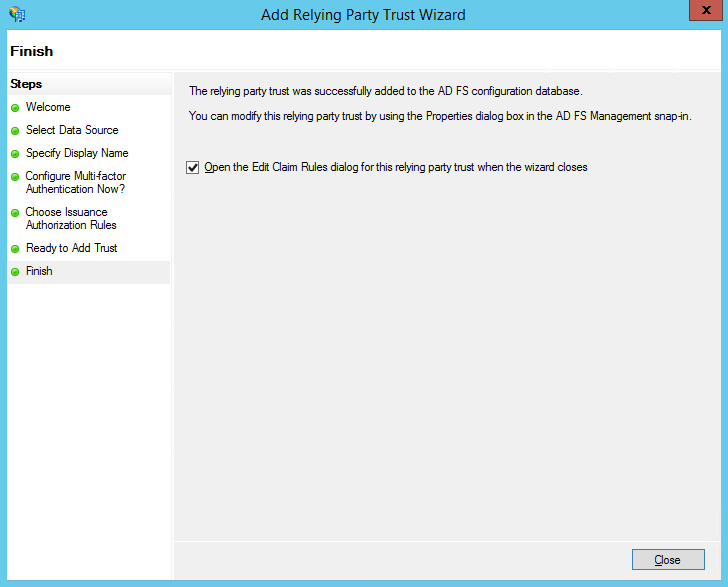
- On the "Finish" page, select the "Open the Edit Claim Rules dialog for this relying party trust when the wizard closes" radio button and then click Close.
Create Claim Rules for the TechDoc Relying Party
We've now created the Relying Party in ADFS for the TechDoc DM however, we must establish a few Claim Rules so that ADFS will relay information to TechDoc to describe the user so that we can identity the user when the authentication request comes back to TechDoc. We first need to create a couple rules so that we can convert the Windows Account name of the user that Active Directory returns to a SAML transient identity that is needed by the TechDoc SAML Authenticator.
- Let's turn our attention to the "Edit Claim Rules For ..." dialog.
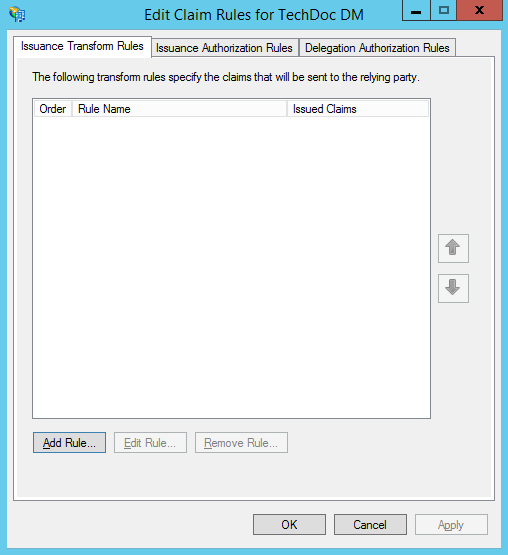
- Click the Add Rule button.
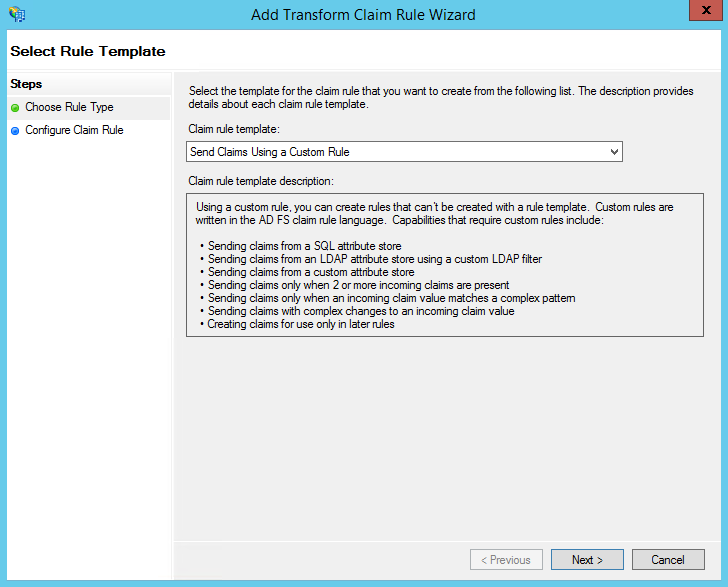
- Under "Claim rule template:" select "Send Claims Using a custom Rule" and then click the Next button.
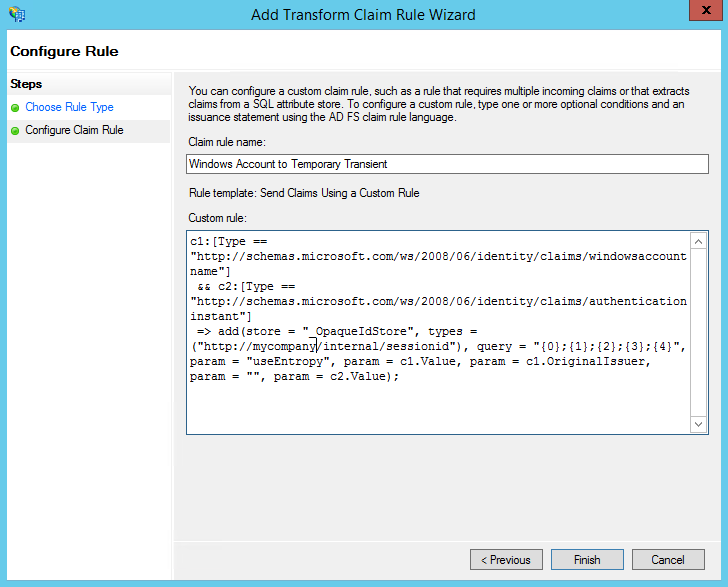
- Give the Claim Rule a name. Since we're converting the Windows Account name of the user to a transient ID to use as a SAML Transient NameID, we'll enter "Windows Account to Temporary Transient". Be sure to give your rules good names to help clarify what it is they actually do, it can be fun later trying to understand a rule by looking at the custom rule language. Place the following text into the Custom rule: text box:
c1:[Type == "http://schemas.microsoft.com/ws/2008/06/identity/claims/windowsaccountname"]
 && c2:[Type == "http://schemas.microsoft.com/ws/2008/06/identity/claims/authenticationinstant"]
 => add(store = "_OpaqueIdStore", types = ("http://mycompany/internal/sessionid"), query = "{0};{1};{2};{3};{4}", param = "useEntropy", param = c1.Value, param = c1.OriginalIssuer, param = "", param = c2.Value);
This rule says to create a temporary ID for a user that is tied to their Windows Account name, store the temporary ID in the opaque ID store and return the temporary ID. This will give us a non-descript ID to use as a transient SAML NameID in the next Rule. Click Finish to complete this rule.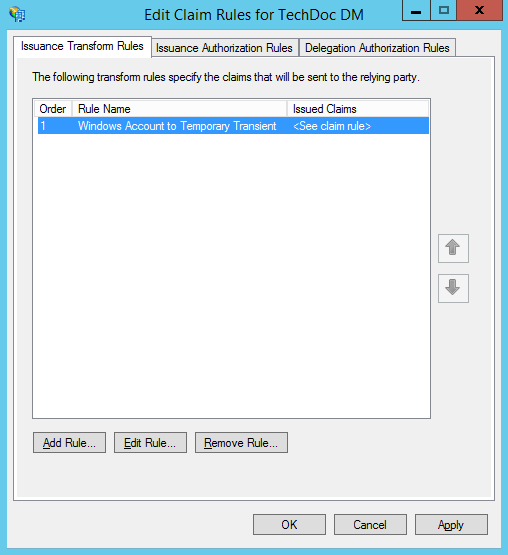
- We now want to create a second rule to map the transient identifier to the SAML NameID field. So once again, click Add Rule..
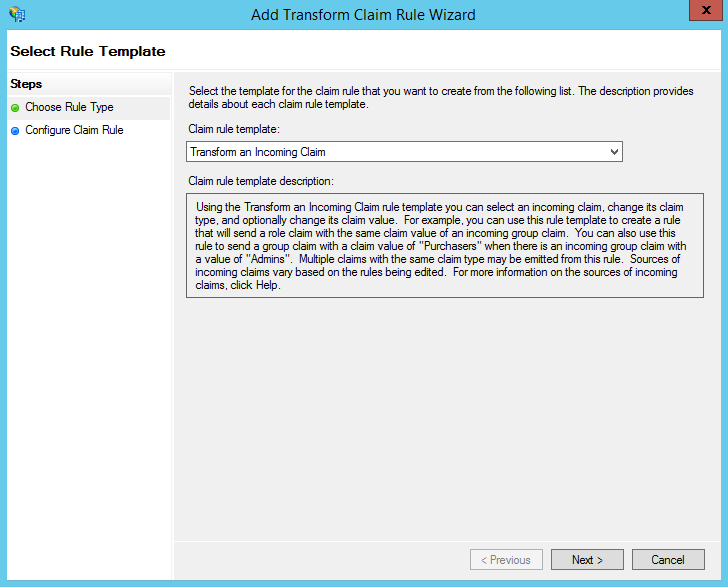
- Under "Claim rule template:" select "Transform an Incoming Claim " and then click the Next button.
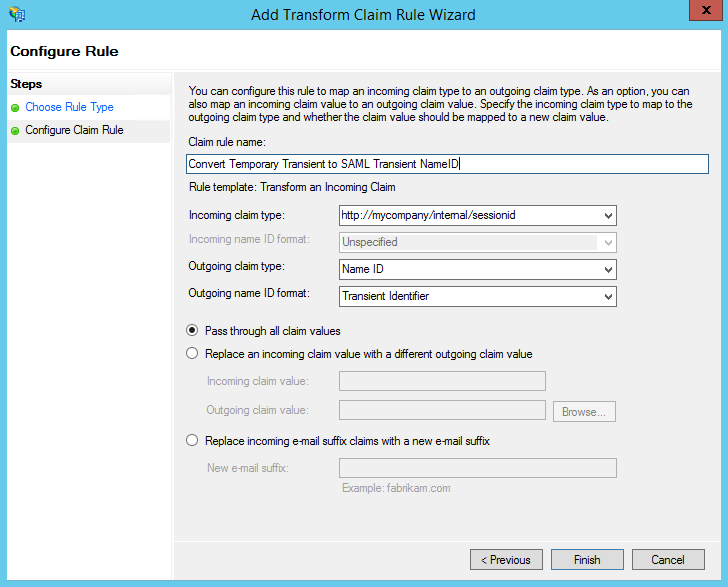
- Give the rule a name. Since we are performing a transform and we're placing the transient ID into the SAML Transient NameID field in the SAML assertion, we'll enter "Convert Temporary Transient to SAML Transient NameID". Under Incoming claim type, you'll want to enter:
http://mycompany/internal/sessionid
as this was the name we gave the temporary ID we generated. Under Outgoing claim type, select "Name ID" and then select "Transient Identifier" under Outgoing name ID format. Make sure the "Pass through all claims values" radio button is selected and then click Finish.
- At this point we now have two rules the first rule converts the account name to a temporary ID and the second rule that places temporary ID in the SAML Name ID as a transient. As you can imagine, the ordering of these rules is important; they must be executed in that exact order. We now need to add two more rules, and then we will be complete.
- On the "Edit Claim Rules for..." dialog, click Add Rule...
- Select "Send Claims Using a Custom Rule" and then click the Next button.
- For the Claim rule name enter "Transform Windows Acct Name to Username". For the custom rule language enter:
c:[Type == "http://schemas.microsoft.com/ws/2008/06/identity/claims/windowsaccountname"] => issue(Type = "uid", Issuer = c.Issuer, OriginalIssuer = c.OriginalIssuer, Value = regexreplace(c.Value, "(?[^\\]+)\\(? .+)", "${user}"), ValueType = c.ValueType);
This rule says to take the windows account name (i.e. your_domain\your_username) and strip off the domain so that all your left with is "your_username" and then place the username into the SAML attribute named uid. This way, TechDoc will be able to obtain your user name and map it to your TechDoc DM account when you authenticate. Click Finish to complete this rule. - Finally, we'll create the last rule that will convey all of the extra information you wish to send to TechDoc (i.e. First Name, Last Name, Email Address, etc.).
- On the "Edit Claim Rules for..." dialog, click Add Rule...
- Select "Send LDAP Attributes as Claims" and then click the Next button.
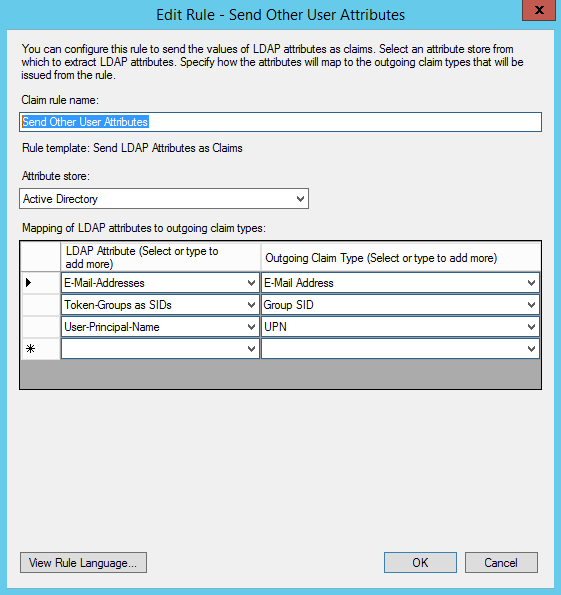
- For the Claim rule name enter "Send Other User Attributes". Select "Active Directory" under Attribute store, and then add the attributes from Active Directory you wish to send to TechDoc. In this example, we'll be sending the user's email address, group information (Windows Group SIDs), and the User-Principal-Name. You may select to add any combination of fields you wish, but remember each field you add must have data set for each user. If you select Email Address and have a user who doesn't have their email address set, the authentication process will fail for that user as they do not have the information as required for this Relying Party. Once you have selected the fields you wish to add, click the OK button to complete the rule.
- At this point we have created the rules we need for this example, the "Edit Claim Rules for..." dialog should look like:

- Click OK to close the "Edit Claim Rules" dialog. We can now shift our attention over to TechDoc.
Configuring a SAML Authenticator in a TechDoc DM
We're now ready to configure a SAML Authenticator in the TechDoc DM that will allow ADFS v3 to be used to authenticate users and grant them access to your TechDoc DM. Before we log into the DM, we first need to obtain the metadata file from ADFS. Typically, you can obtain the metadata XML file by visiting the URL:
https://ADFS_SERVER/FederationMetadata/2007-06/FederationMetadata.xml
Replace ADFS_SERVER with the full host name of your ADFS v3 server. If you are having trouble locating the metadata, open the AD FS Management Application, expand the nodes AD FS > Service >Endpoints, and look for the Federation Metadata endpoint. Once you have located the endpoint, make sure that it is enabled and note the location in case it's different. Once the metadata file has been located, save a copy of the file on your TechDoc server in the TechDoc\etc folder. Again, it is a good idea to give this file a good name to make it easy to identity later. For our example, we'll use idp-metadata-adfsv3.xml. We're now ready to configure the SAML Authenticator.
- Open a web browser and log into your TechDoc DM as an Admin.
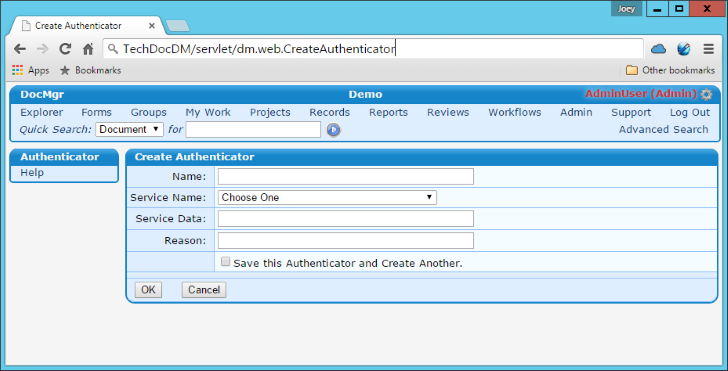
- Click the Admin link on the upper menu bar and then click Authenticator under the Create... section.
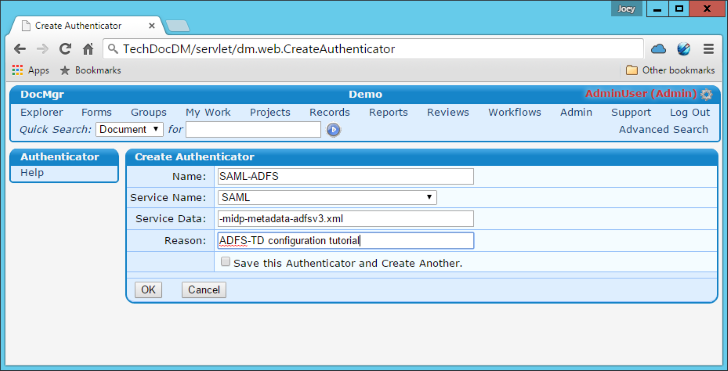
- Enter a meaningful name for the authenticator, select SAML under Service Name, enter a Reason, and then enter the following text in the Service Data box:
-midp-metadata-adfsv3.xml
This Service Data statement tells the SAML Authenticator the name of the metadata file (using -m) for your ADFS server. Usually this is all that is needed, we'll discuss the other switches below should you run into trouble upon testing the authenticator.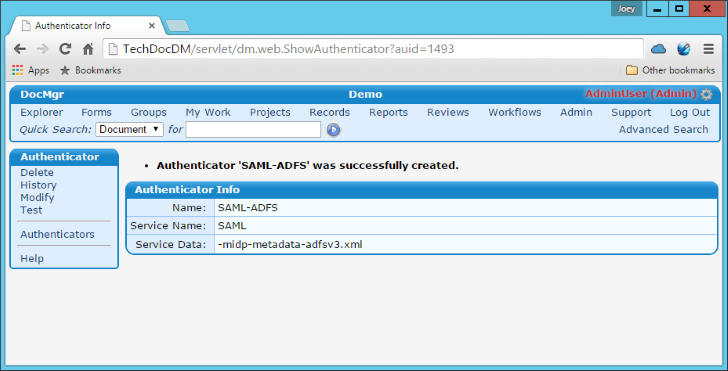
- You should now see a screen telling you "Authenticator was successfully created". If you ran into an error, verify that the metadata file name matches what you specified on the -m switch. We're now ready to test the authenticator.
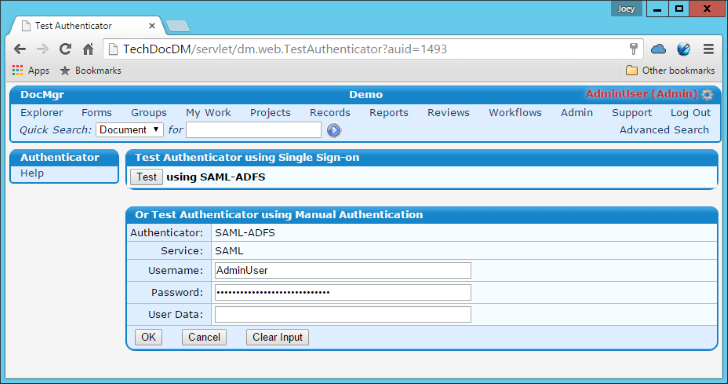
- Click the Test link on the side menu.
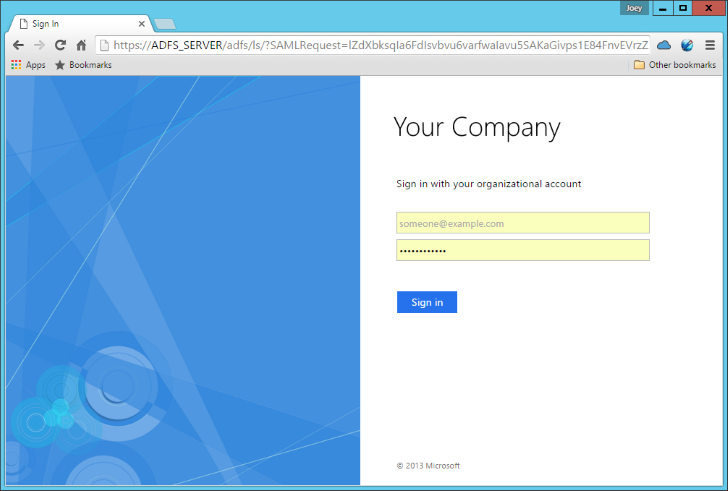
- Now click the Test button on the Test Authenticator screen and you should be routed to your ADFS server to login in. If you already have an active ADFS session, you'll just be route directly back to TechDoc. Enter your username and password and log into your ADFS account.
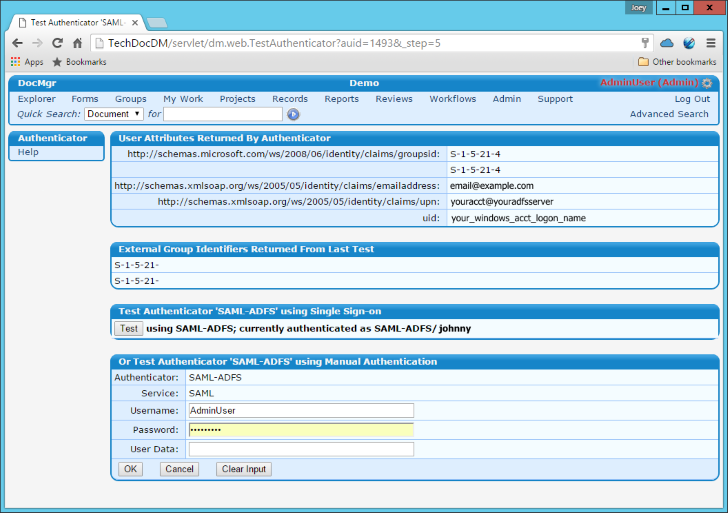
- If everything was successful, your screen should look similar to the snapshot above. Notice the User Attributes returned by ADFS. We see our email address, upn, and group information because of the rules we configured under the "Send LDAP Attributes as Claims" Rule we created in ADFS. You should also see that your are currently authenticated as SAML-ADFS\UID_HERE. If you ran into errors, you may want to modify the SAML Authenticator and specify the -l switch. This will enable logging to aid you in debugging your issue; the TechDoc logs can be viewed by either navigating to Admin > Miscellaneous > Log Files or viewing the log file directly in the TechDoc\logs folder. There are a number of other switches you may specify to disable the signing requirement, encryption requirement, etc. For more information, view the Help link on the Show Authenticator screen for further details on all of the available switches.
- Now that your SAML Authenticator has been configured, you may begin creating/modifying user accounts to use this SAML Authenticator as their log in mechanism.
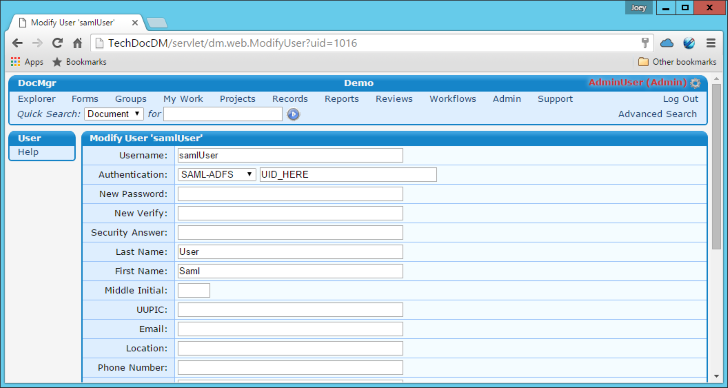
- As an example, if you navigate to an existing user account and modify it, you'll want to select SAML-ADFS as the Authentication method and enter their UID (as it is returned on the previous screen) in the text field next to the Authentication drop down. For example, in the previous screen shot, you can see SAML-ADFS\johnny. If we navigate to Johnny's TechDoc user account and modify it, we'll want to select SAML-ADFS as the Authentication method and enter johnny in the field next to it. Once you have modified the user account, you may enter a reason and click OK to complete the operation.
You should now have a fully working SAML Authenticator that provides your TechDoc DM the ability to authenticate users against your ADFS server! Keep in mind you are free to configure as many different Authenticators as you need for your environment. If you have multiple ADFS servers to authenticate against, just setup your TechDoc DM as a Relying Party in each and then configure each ADFS server as a SAML Authenticator in TechDoc.