
In this post we'll detail the steps required to configure both SharePoint 2010 and Active Directory Federation Services v3 (ADFS) to provide SAML Claims based authentication. Once configured, you will be able to select and use ADFS as a Trusted Identity Provider for any of your SharePoint Web Applications. In order to complete this tutorial, you must have administrative access to both the ADFS server and the SharePoint 2010 Central Administration site. Also, it's a good idea that you first familiarize with both SharePoint administration and Power Shell before attempting to establish this trust.
First, here is a high level overview of what we'll be doing to make all of this work. In this type of a configuration, ADFS will be the Identity Provider. We'll be creating a Relying Party inside of ADFS that will allow your SharePoint 2010 instance to contact ADFS for authentication purposes. Then, on the SharePoint side, we'll be configuring ADFS as a Trusted Identity Provider (TIP) from within SharePoint. The SharePoint Secure Token Service (STS) will then be able to use this TIP to provide authentication for any of your SharePoint Web Applications. Let's dive in.
Configuring SharePoint 2010 as a Relying Party in ADFS 3.0
We'll first start by configuring your SharePoint 2010 instance as a Relying Party in ADFS. This simply means that SharePoint will have access to call ADFS and receive information about authenticated users.
- Go to the server on which ADFS is installed and launch the AD FS Management application.
- Expand the Trust Relationships node and click on the Relying Party Trusts node.
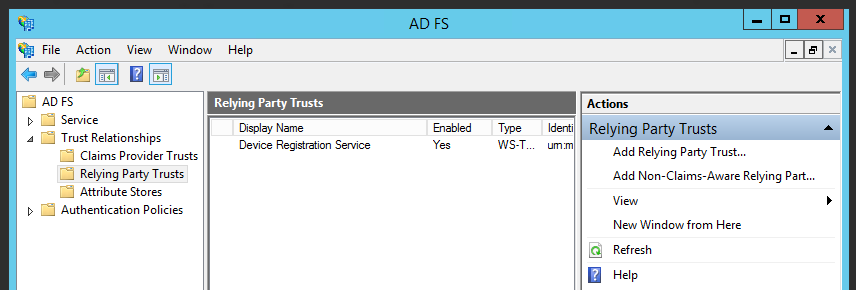
- Click on the Add Relying Party Trust link in the right pane to start the Add Relying Party Trust wizard.
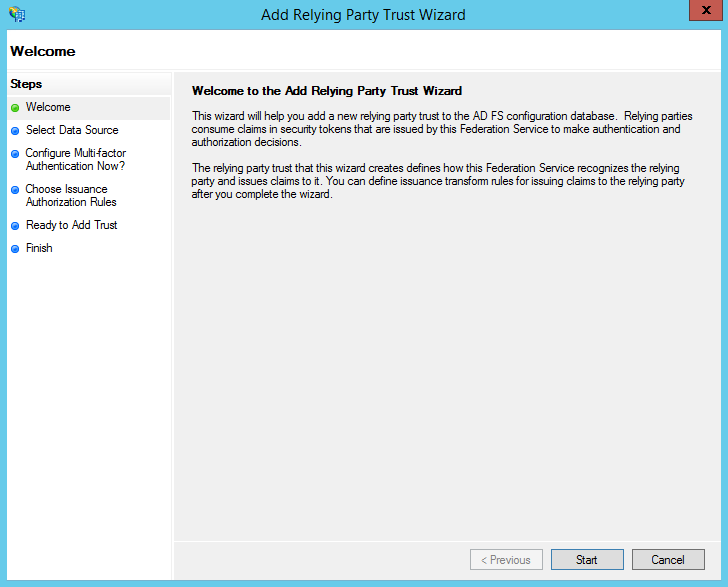
- Click the Start button to continue.
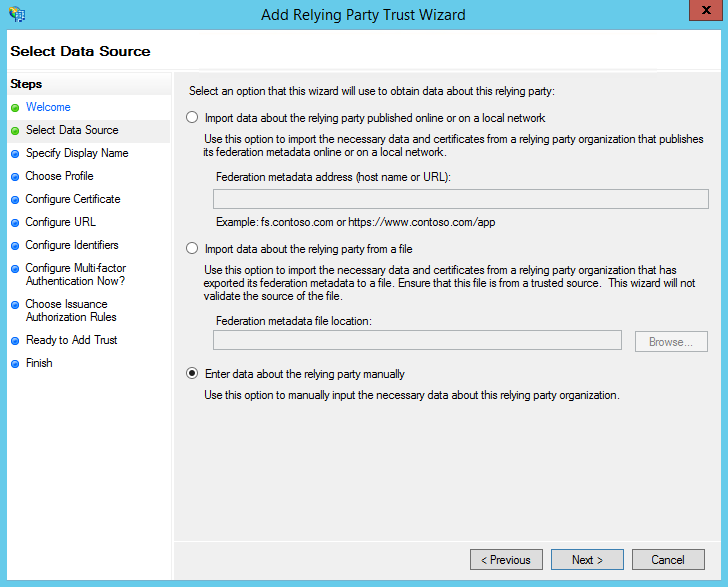
- Select the "Enter data about the relying party manually" radio button and then click Next to continue.
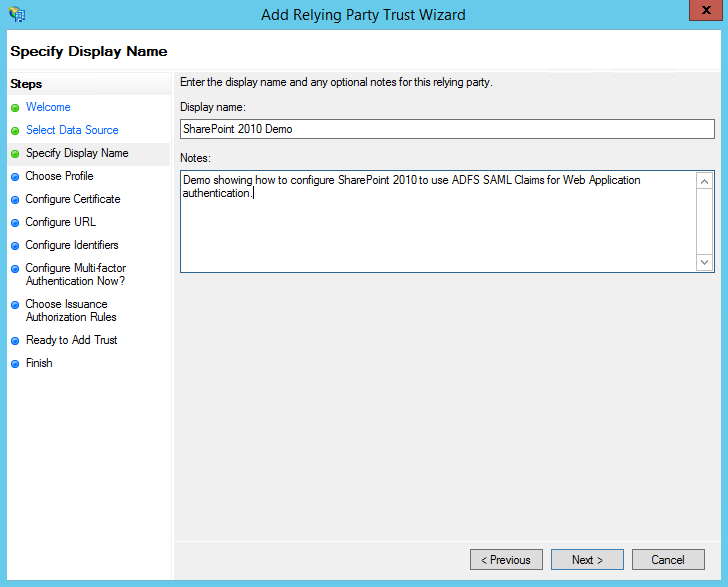
- Choose and enter a Display Name for this Relying Party and any additional notes you may want. Click Next to continue.
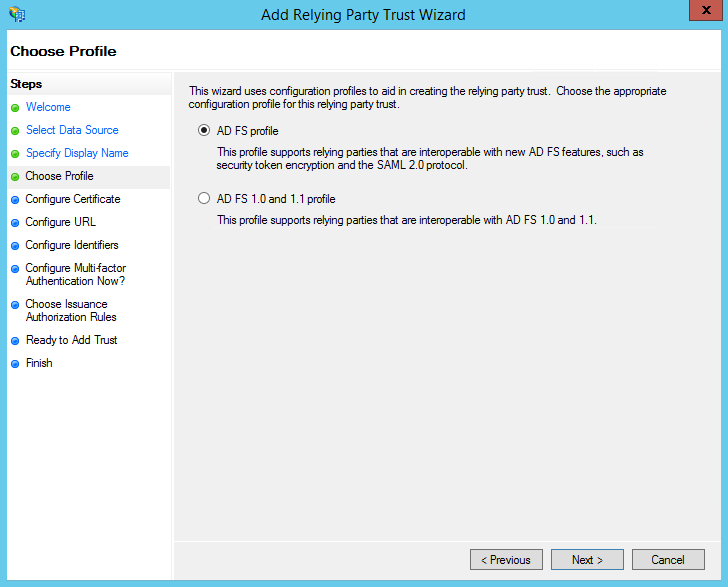
- Select the top "AD FS profile" radio button. This option will pick to use the latest AD FS capabilities version (2.0/3.0) and provide SAML 2.0 assertions. Click Next to continue.
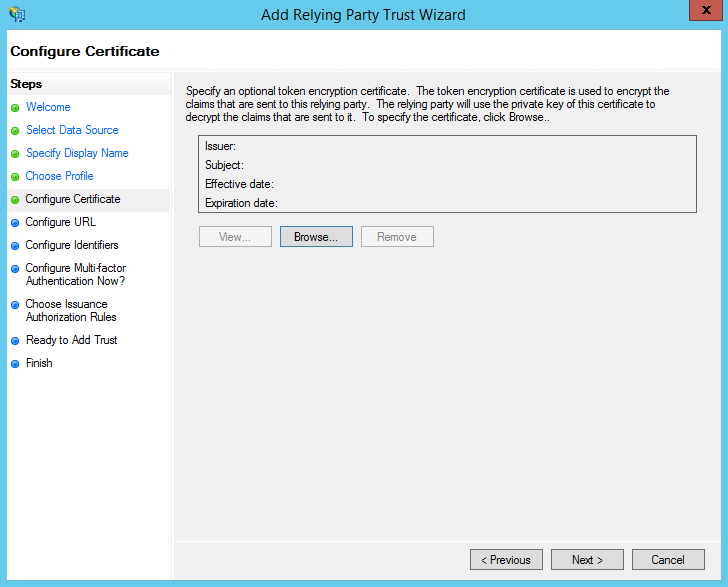
- If you need to encrypt the SAML token itself, you should select the encryption certificate now. This isn't commonly done as ADFS requires our connection to SharePoint to be made over SSL, so we're already encrypted at the transport layer. For this example, we won't be encrypting our SAML token. Click Next to continue.
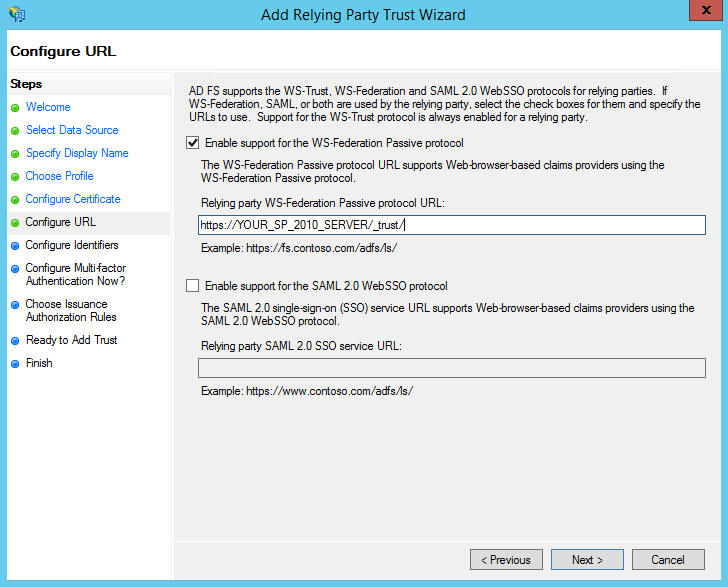
- Check the box to "Enable support for the WS-Federation Passive protocol". In the "WS-Federation Passive protocol URL" box, enter the URL for your SharePoint web application's root site and append the "_trust" sub-directory to the end. For example:
https://YOUR_SP_2010_SERVER/_trust/
Replace "YOUR_SP_2010_SERVER" with the full host name of your SharePoint 2010 server's root web application. Also, do not forget to add the trailing slash, it can cause issues. Click Next to continue.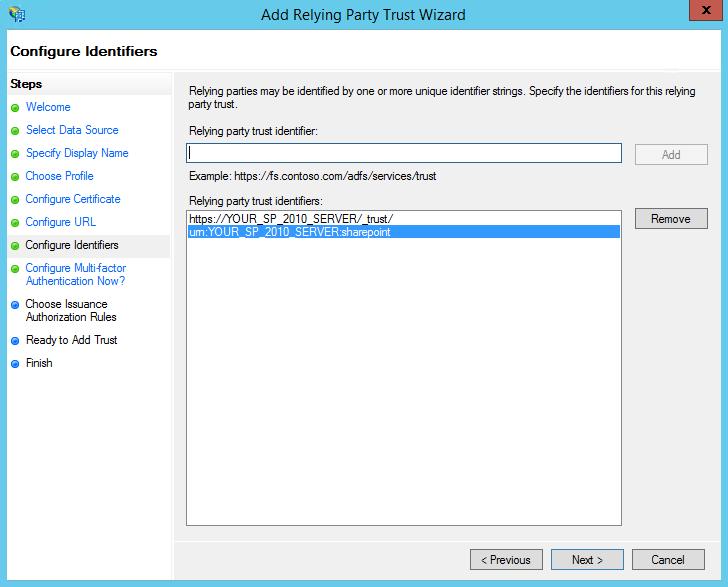
- We now need to enter the relying party trust identifier (realm) that our SharePoint 2010 web application will pass when contacting ADFS to authenticate. The realm is typically created in the format of urn:host:software. The realm entered here helps ADFS decide who it should return the authentication response back to. You'll want to enter something like:
urn:YOUR_SP_2010_SERVER:sharepoint
Replacing "YOUR_SP_2010_SERVER" with the host name of your SharePoint 2010 server's root web application. Once you've entered a realm, click the Add button to add it to the list. Write down what you've entered for the realm because we'll need it later when we configure SharePoint. Click Next to continue.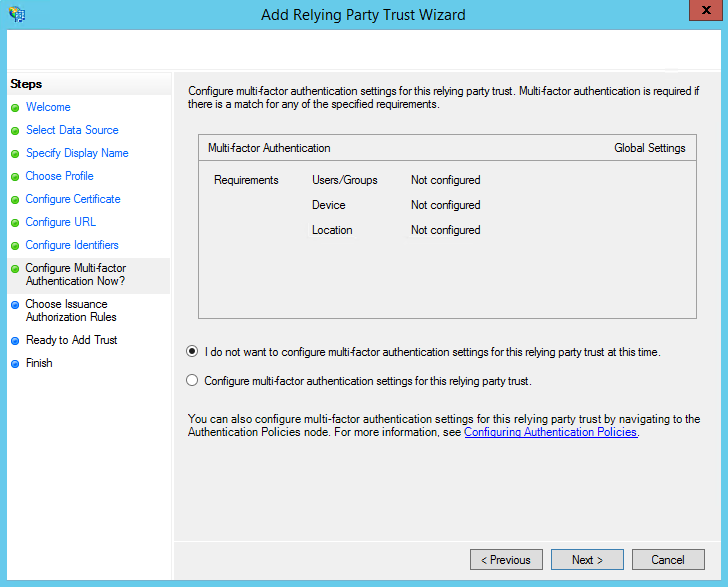
- On the "Configure multi-factor authentication settings..." screen, we'll select the "I do not want to configure multi-factor authentication..." radio button. In this example, we won't be covering the configuration of multi-factor authentication. If you must use multi-factor for your setup, select the other radio button and complete whats needed. Click Next to continue.
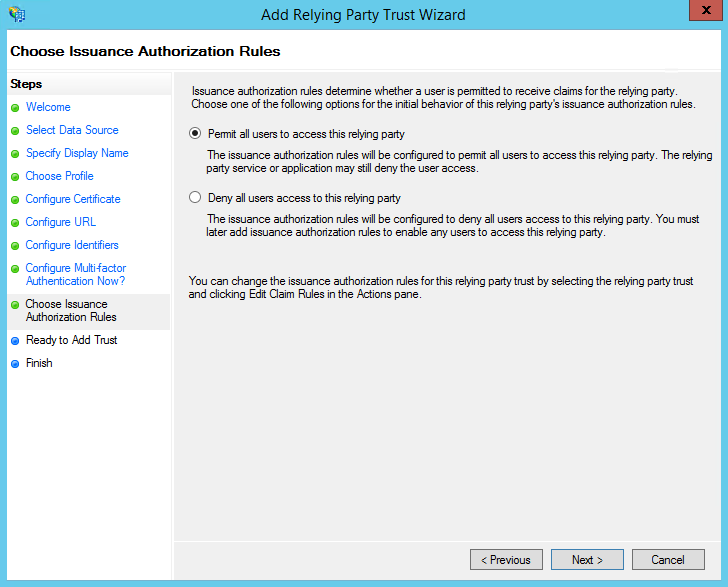
- In most cases, you'll want to permit all users to use this relying party for authentication. However if needed, you may select to deny all users and then grant access specifically via issuance authorization rules later. For this example, we'll be permitting all users. Click Next to continue.
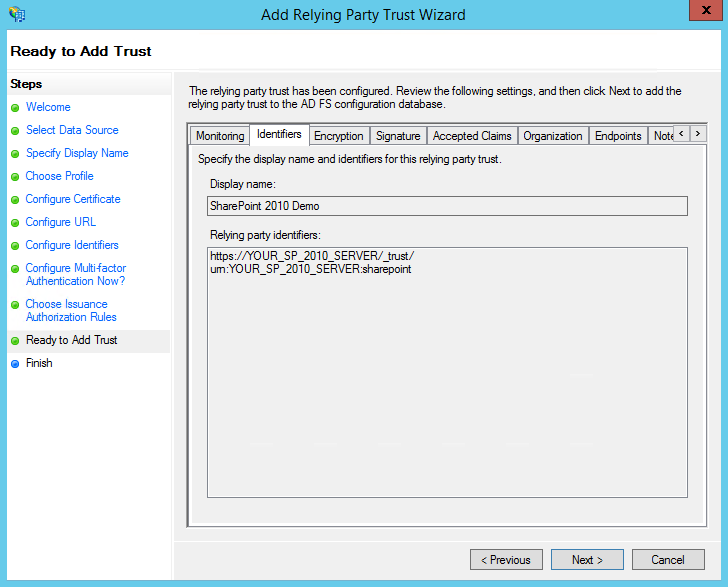
- On the "Ready to Add Trust" page, review all of the tabs and make sure the information looks correct. This screen can be used to make any final changes needed. For this example we don't need to make any adjustments, so click Next to continue.
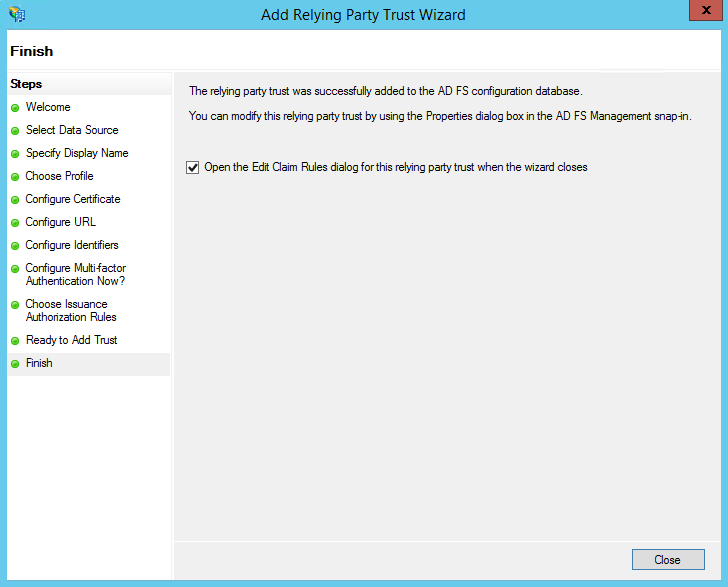
- On the "Finish" page, select the "Open the Edit Claim Rules dialog for this relying party trust when the wizard closes" radio button and then click Close.
Create Claim Rules for the SharePoint 2010 Relying Party
We've now created the Relying Party in ADFS for SharePoint 2010 however, we must establish a few Claim Rules so that ADFS will relay information to SharePoint to describe the user so that SharePoint can identity the user when the authentication request comes back. To identify the user, we'll be sending a few LDAP attributes back to SharePoint.
- Let's turn our attention to the "Edit Claim Rules For ..." dialog.
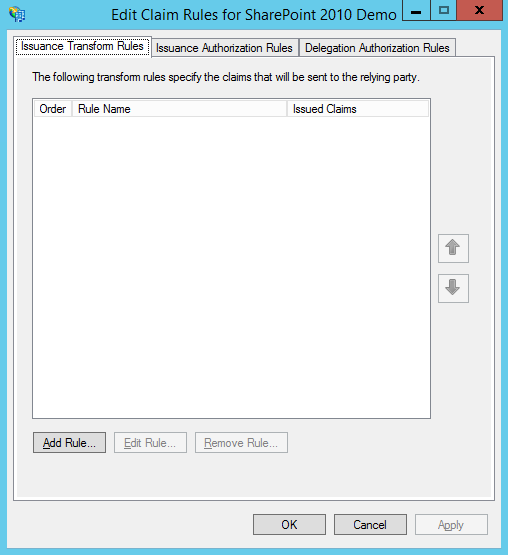
- Click the Add Rule button.
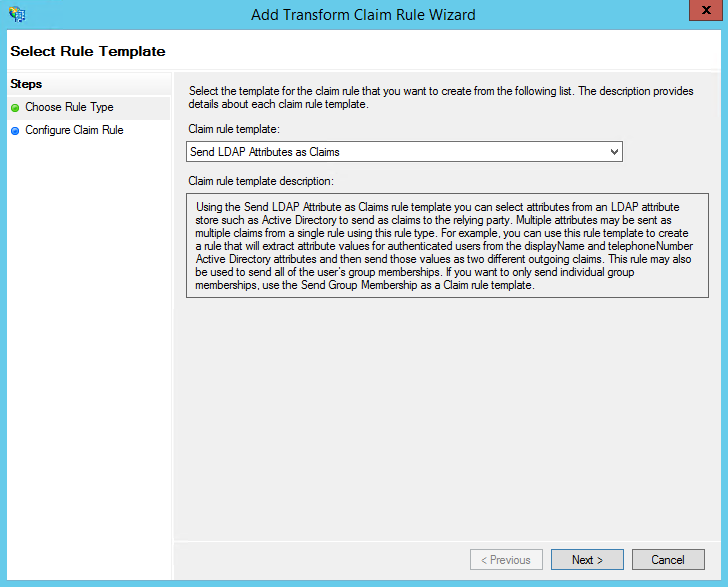
- Under "Claim rule template:" select "Send LDAP Attributes as Claims" and then click the Next button.
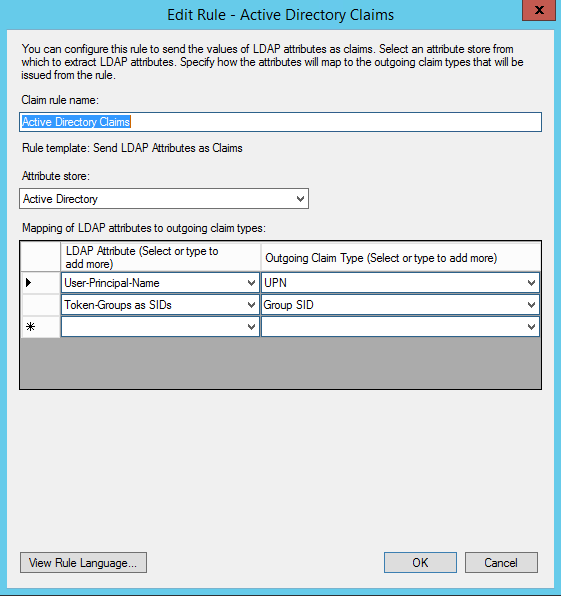
- We're going to be returning a few LDAP attributes from Active Directory to help SharePoint identify the user. Enter a name for the claim rule. Since we're going to be returning attributes from Active Directory, we'll enter:
Active Directory Claims
We're going to send the user's User-Principal-Name and Token-Groups back to SharePoint. In the left column, select User-Principal-Name in the first row and Token-Groups as SIDs in the second row. This says what data we want to pull from Active Directory. In the right column, select UPN on the first row and Group SID on the second row. This signifies the name/field type we want to place each of the pieces of data into when ADFS creates the SAML assertion that it sends back to SharePoint. Once you've added the attributes and your rule looks like the screenshot above, click OK to create the rule.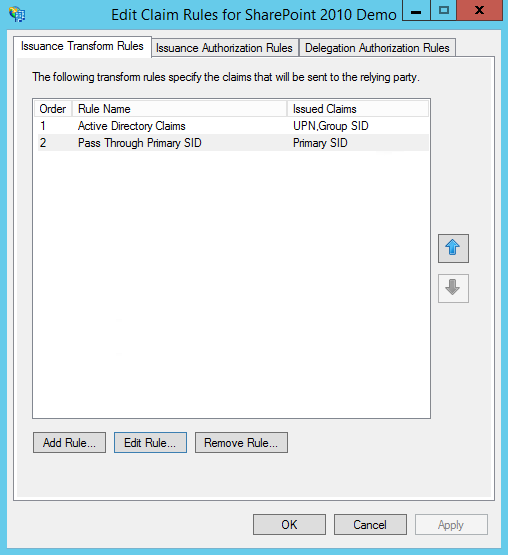
- Go ahead and add a second rule to pass through the user's primary SID. Click add rule, select "Pass Through or ...", give the rule a name, select Primary SID, select to pass through all claim values, and then click OK to create the rule. Your claims rules should now look like the screen shot above. At this point you may click OK to close the rules dialog.
We now have the Relying Party configured and the attributes to return via claim rules. We now just need to obtain one last thing before we switch over to the SharePoint side of this tutorial. ADFS uses a certificate to sign the tokens it sends back to it's relying parties. This ensures the consumer (SharePoint in our case) that the token did in fact come from ADFS and it has not been tampered with since it's creation. When we configure SharePoint, we'll need a copy of this certificate so that we can tell SharePoint what certificate to use when checking the validity of authentication responses it receives from ADFS.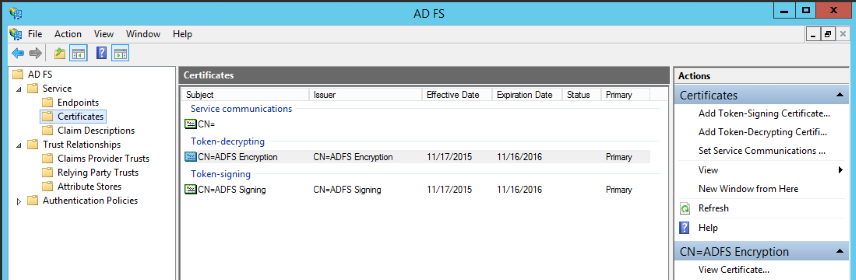
- To get this token signing certificate from ADFS, expand the Service node and click on the Certificates node.

- Select the ADFS Signing certificate listed under Token-signing and click View Certificate in the right pane.
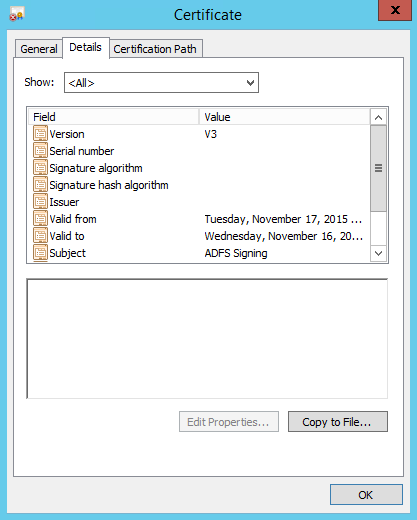
- Click the details tab and then select Copy to File...
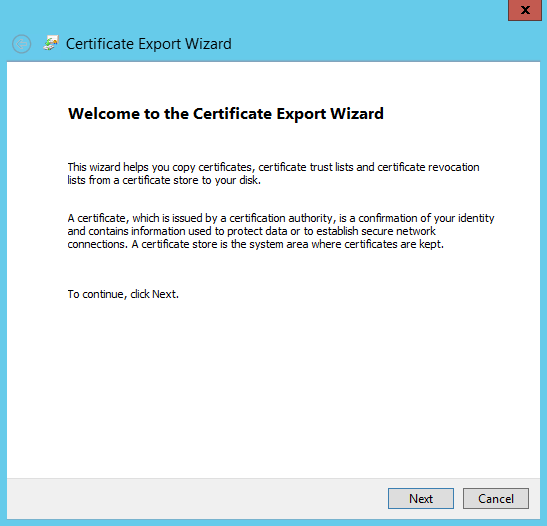
- Click the Next button to continue.
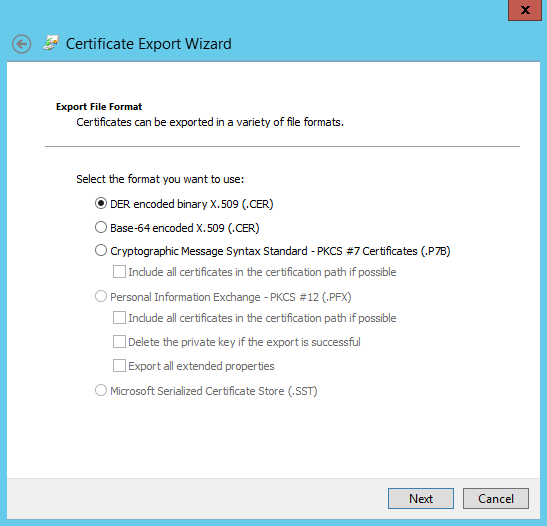
- If prompted to export the private key, choose No and continue. Select the DER format to export to and then click the Next button to continue.
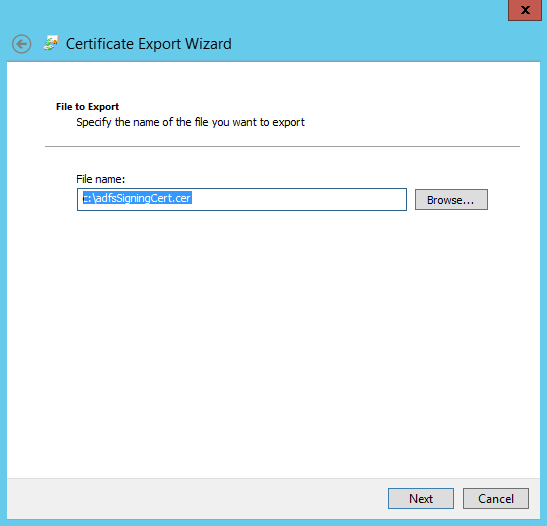
- Enter a file location to save the certificate to and then click the Next button to continue and then click Finish to save the certificate.
Configuring SharePoint 2010 as a Relying Party in ADFS 3.0
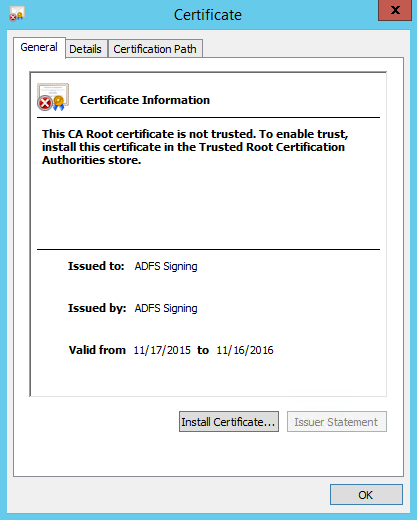
At this point, we're now ready to switch over to SharePoint and configure what is needed on the SharePoint side to finish establishing this authentication mechanism. The first thing you'll want to do is copy the certificate over to your SharePoint 2010 server so we can import it. Once you have copied the certificate over, navigate to the certificate and double click it.
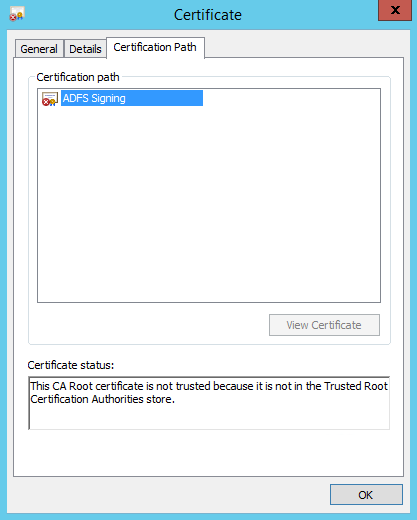
Now click the Certificate Path tab and the top of the dialog so that we can examine the path of the certificate. If your certificate has a parent certificate (one or more), you'll want to switch back over to the ADFS server and save the parent certificate(s) as well. We'll need each certificate so we can import the entire tree to the SharePoint trust store. This way, we won't run into any issues later on when SharePoint attempts to validate the ADFS signing certificate. In this example, our certificate doesn't have any parent certificates, so we'll just need to import the one cert.
In order to import the certificate(s), open the SharePoint 2010 Management Shell (PowerShell thats running the SharePoint snap-ins) and enter the following commands for each of your certificates:
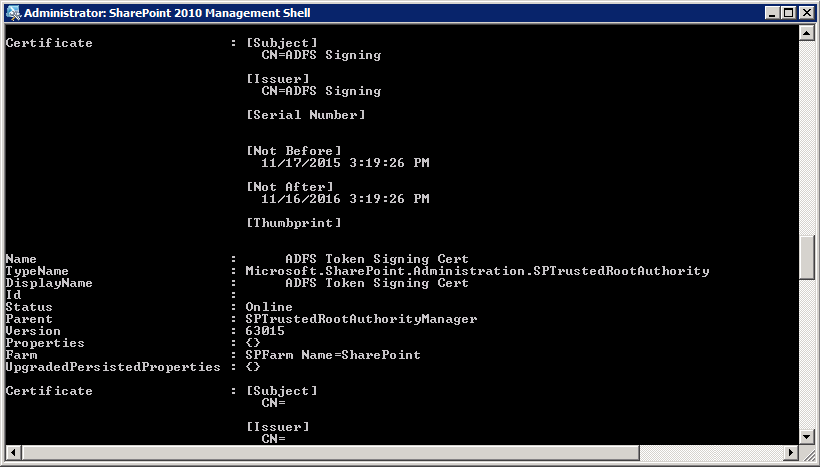
$cert1 = New-Object System.Security.Cryptography.X509Certificates.X509Certificate2(“PATH_TO_YOUR_CERTIFICATE”)New-SPTrustedRootAuthority -Name “ADFS Token Signing Cert” -Certificate $cert1
Replacing "PATH_TO_YOUR_CERTIFICATE" with the path of the certificate your importing i.e c:\adfsSigningCert.cer. Be sure to adjust the variable name and SP-TrustedRootAuthority name if you are entering more than one certificate so that you make sure you have unique names and variables names for each cert. After completing the above commands, your PowerShell output should look something like this.
Next we'll need to create the claim mappings in that SharePoint is going to use. If you recall earlier, we'll be using UPN, role claims (groups), and primary SID in SharePoint. To create these mappings, you'll want to enter:
$map1 = New-SPClaimTypeMapping -IncomingClaimType “http://schemas.xmlsoap.org/ws/2005/05/identity/claims/upn" -IncomingClaimTypeDisplayName “UPN” -SameAsIncoming$map2 = New-SPClaimTypeMapping -IncomingClaimType “http://schemas.microsoft.com/ws/2008/06/identity/claims/groupsid" -IncomingClaimTypeDisplayName “GroupSID” -SameAsIncoming$map3 = New-SPClaimTypeMapping -IncomingClaimType “http://schemas.microsoft.com/ws/2008/06/identity/claims/primarysid" -IncomingClaimTypeDisplayName “PrimarySID” -SameAsIncoming
Next we're going to create a variable that contains the realm that we want SharePoint to use. You should have this written down when you created the realm in ADFS. The realm should look something like urn:YOUR_SP_2010_SERVER:sharepoint.
$realm = "urn:YOUR_SP_2010_SERVER:sharepoint"
Now, we're finally ready to create our SPTrustedIdentityTokenIssuer. This is where we'll tell the SharePoint STS about ADFS so that it knows how to authenticate against it and that it should be a option as a Trusted Identity Provider moving forward. To create the Identity Provider enter:
$ap = New-SPTrustedIdentityTokenIssuer -Name “ADFS v3” -Description “SharePoint secured using ADFS 3” -realm $realm -ImportTrustCertificate $cert1 -ClaimsMappings $map1,$map2,$map3 -SignInUrl “https://YOUR_ADFS_SERVER/adfs/ls" -IdentifierClaim “http://schemas.xmlsoap.org/ws/2005/05/identity/claims/upn"
This code example shows how to create a new STS TIP named "ADFS v3", using the realm we specified in $realm, that should expect authentication responses signed by the ADFS certificate $cert1, understand the claims $map1, $map2, and $map3, map the user using the UPN claim, and provide all of this under the service URL https://YOUR_ADFS_SERVER/adfs/ls (where YOUR_ADFS_SERVER is the full host name of the ADFS server).
At this point, we now have the ability to use claims to authenticate users for a SharePoint web application. However, before we can use Claims Based authentication on a Web Application, you must first convert the application to use Claims Based authentication. This is easy to do when you first create a web application however, unfortunately it's rather nasty after the fact. In order to modify an existing web application to do this, you'll need to enter something like this in the SharePoint Management Shell:
$waName = "http://YOUR_SP_2010_WEB_APP/"$wa = Get-SPWebApplication $waName$wa.UseClaimsAuthentication = $true$wa.Update()$acct = (New-SPClaimsPrincipal -Identity "SP_2010_SERVER\Administrator" -IdentityType 1).ToEncodedString()$acct$wa = Get-SPWebApplication $waName$zp = $wa.ZonePolicies("Default")$p = $zp.Add($acct, "PSPolicy")$fc = $wa.PolicyRoles.GetSpecialRole("FullControl")$p.PolicyRoleBindings.Add($fc)$wa.Update()$wa.MigrateUsers($true)$wa.ProvisionGlobally()
It's best to copy the above steps into a PowerShell script so you can modify it and reuse it as needed. You can simply create a text file with an extension of "ps1" and save the above text into it. You'll want to modify "YOUR_SP_2010_WEB_APP" on the first line to the URL of the web application you want to convert. Then on the first $acct alter the "SP_2010_SERVER\Administrator" to be the domain name of the SharePoint server \ and the username of the Administrator account. This will make sure the Administrator has access after the change over. After you feel comfortable that you have adjusted the script to suit your needs, execute it in the SharePoint Management Shell by simply navigating to it and entering NAME_OF_SCRIPT.ps1. Hopefully in the future Microsoft can make this conversion to Claims based authentication a little less painful. You may search around and look for other examples of how to convert a web application to claims based authentication, but unfortunately they are all like this. The above script seems to works the best as it addresses a few key points that many example scripts miss.
You now have a web application that is ready to use claims for authentication. At this point, we'll be configuring the web application to use the "ADFS v3" TIP that we created above.
- Open a web browser.
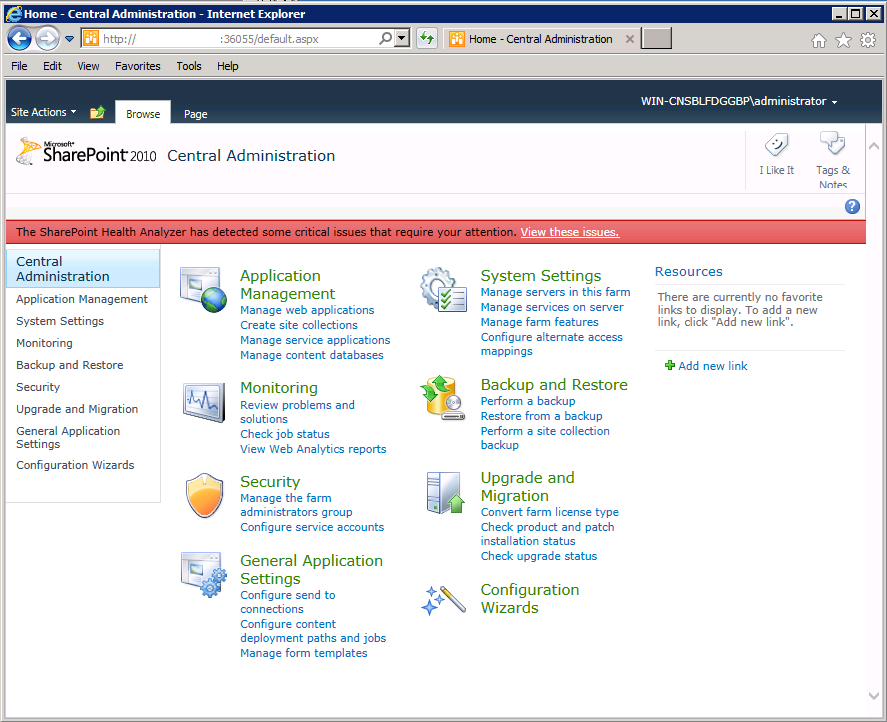
- Navigate to the SharePoint Central Administration site.
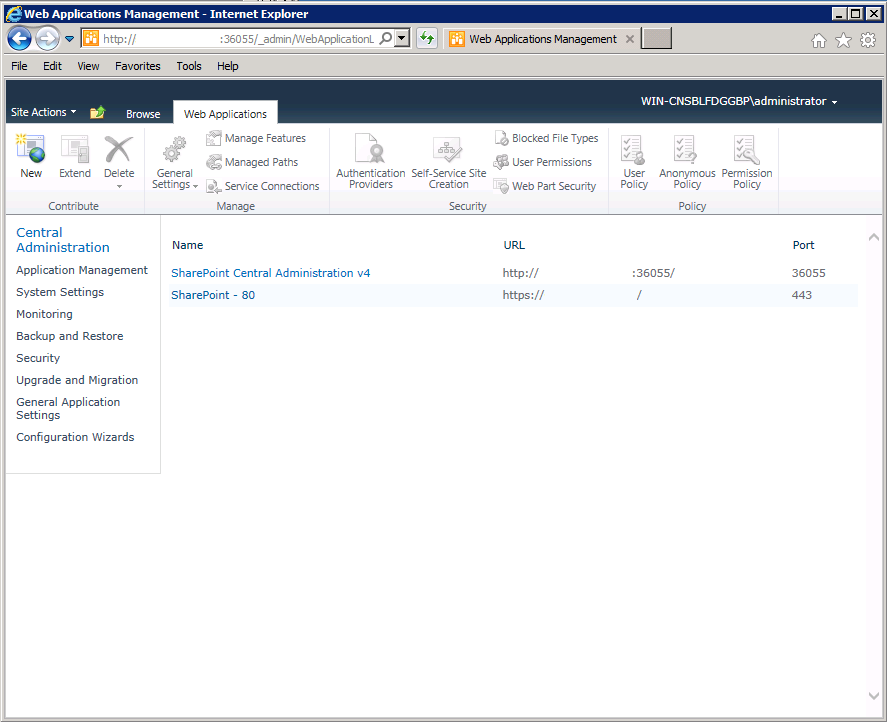
- Click "Manage web applications" under "Application Management". Now select the web application you want to configure to use the ADFS TIP and then click Authentication Providers on the ribbon.

- On the popup window, click the link listed under Zone. If you are running with all of the defaults, this link will be listed as Default.
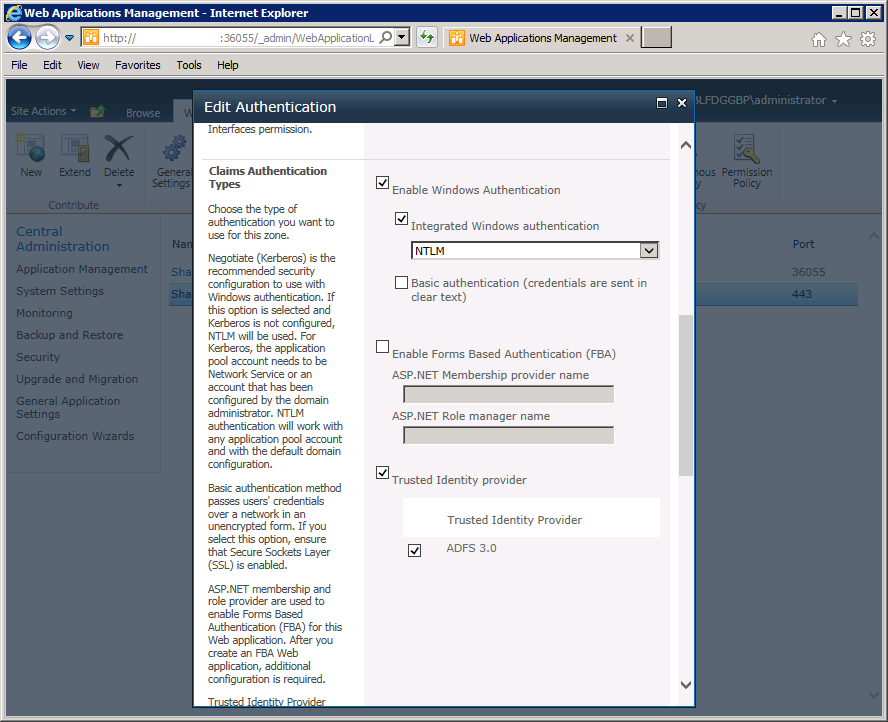
- Scroll down to the Claims Authentication Types section. By default, Window Authentication should be enabled. Under the Integrated Windows authentication check box, click the drop down and change to use NTLM. Also, select the checkbox next to "Trusted Identity Provider" and then select ADFS as the TIP. This will give you the ability to authenticate via traditional Windows authentication and via Claims using ADFS. Once you've configured your web application like this, click the Save button.
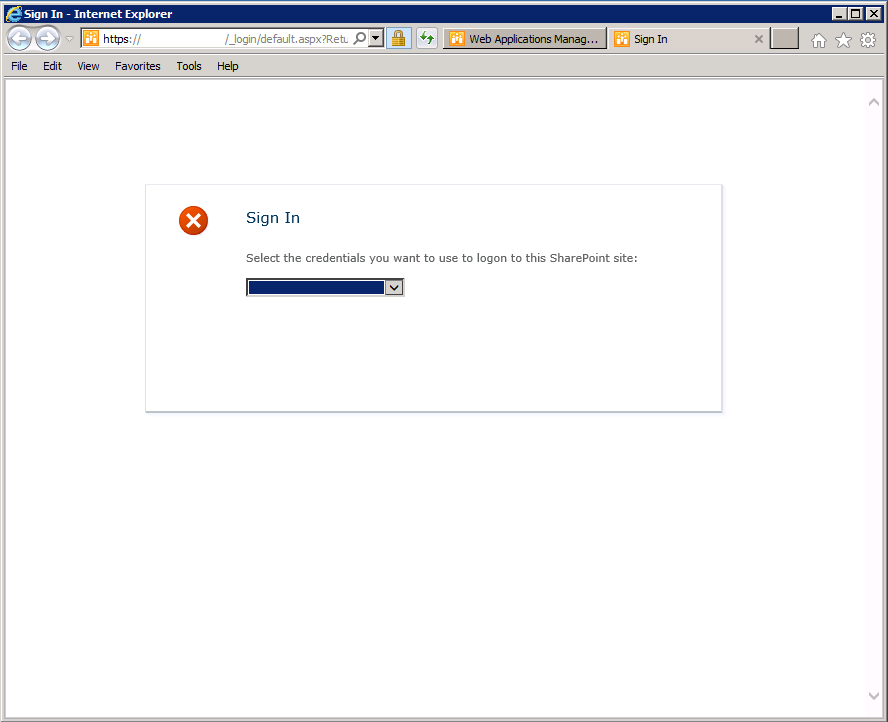
You can now visit the web application and you should be presented with the login page that now has a drop down. The first time you log in, you'll want to use Windows Authentication and log in with the Administrator account you listed in the Power Shell script. You may then proceed to Site Permissions and add the Users and Groups if/as needed using the new ADFS authentication mechanism. After you've added the users and groups, you may log out and log back in using ADFS.
This completes our end to end configuration tutorial! You should be able to begin using Claims based authentication to log into SharePoint and the SharePoint Designer. This way in the very near future, you'll be able to pass along those claims in the SharePoint Designer and call TechDoc web services! We'll cover that in another tutorial very soon :)